Keeping your air fryer clean is essential for maintaining its performance and ensuring your meals taste their best. Whether you’re a seasoned air fryer user or new to this versatile kitchen appliance, understanding the best way to clean air fryer can save you time and effort while prolonging its lifespan. In this guide, we’ll share step-by-step instructions, clever cleaning hacks, and expert tips to help you keep your air fryer spotless and ready for your next culinary adventure. Let’s dive in!
Why Is Cleaning Your Air Fryer Important?
Maintaining a clean air fryer is about more than just appearances. Regular cleaning ensures better performance, hygiene, and the longevity of your appliance. Here’s why keeping your air fryer spotless should be a top priority:
1. Hygiene and Food Safety
Leftover grease, crumbs, and food particles can become breeding grounds for bacteria, posing health risks. Cleaning your air fryer regularly prevents contamination and ensures the food you prepare is safe to eat.
2. Optimal Performance
A clean air fryer operates more efficiently. Built-up grease or residue can block air circulation, leading to uneven cooking or longer preparation times. Keeping your air fryer clean ensures consistent results every time.
3. Prolonging the Appliance’s Life
Over time, accumulated grime and residue can damage your air fryer’s non-stick coating or internal components. Regular cleaning helps maintain the appliance’s durability, saving you money in the long run.
4. Maintaining Flavor Quality
Lingering flavors from previous meals can affect the taste of new dishes, especially if strong spices or greasy foods were cooked. Cleaning your air fryer after every use prevents flavor transfer and keeps your meals tasting fresh.
5. Reducing Unpleasant Odors
Grease and food residue left behind can lead to unpleasant smells. A clean air fryer ensures your kitchen stays odor-free and welcoming.
By prioritizing cleanliness, you’ll enjoy a healthier cooking experience and extend the life of your air fryer, making it a reliable kitchen companion for years to come.
Tools and Materials You’ll Need
To clean your air fryer effectively, having the right tools and materials is essential. These items ensure that you can tackle grease, stains, and residue without damaging the appliance. Here’s what you’ll need:
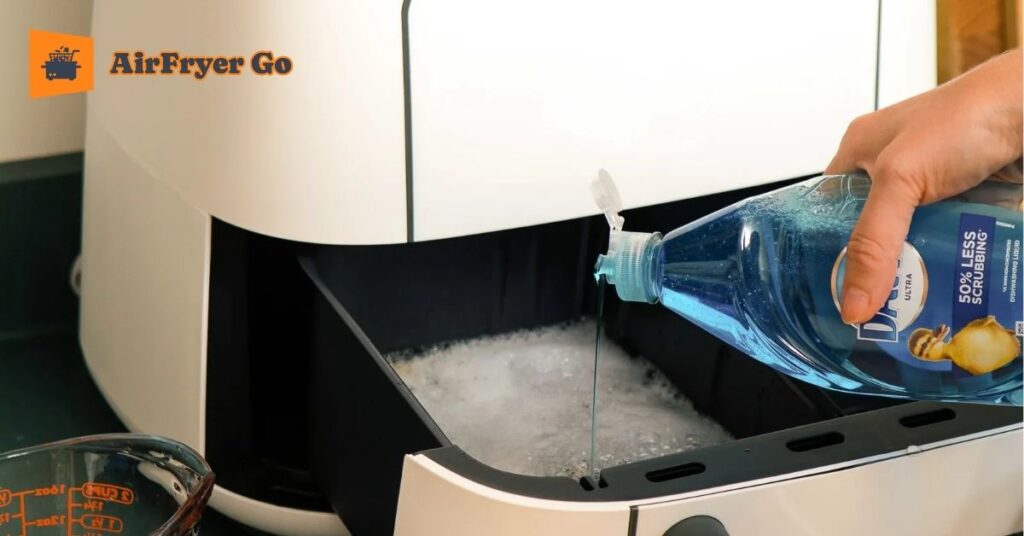
- Mild Dish Soap: For gentle cleaning without harming the non-stick surface.
- Soft Sponge or Cloth: Ideal for wiping down the interior and exterior.
- Non-Abrasive Brush or Toothbrush: Useful for scrubbing hard-to-reach areas and stubborn residue.
- Paper Towels or Microfiber Cloths: For drying components and polishing surfaces.
- Baking Soda and Vinegar: Effective natural cleaners for tackling grease and odors.
- Silicone Cleaning Tool: Optional but helpful for removing stuck-on bits without scratching.
With these tools and materials on hand, you’ll be ready to keep your air fryer spotless and in top condition.
Step-by-Step Guide: Best Way to Clean Air Fryer

Cleaning your air fryer properly doesn’t have to be complicated. Follow this step-by-step guide to ensure your appliance stays clean, odor-free, and in excellent working condition.
Step 1: Unplug and Cool Down
Before you begin, make sure your air fryer is unplugged and has completely cooled down. This ensures safety and prevents any burns.
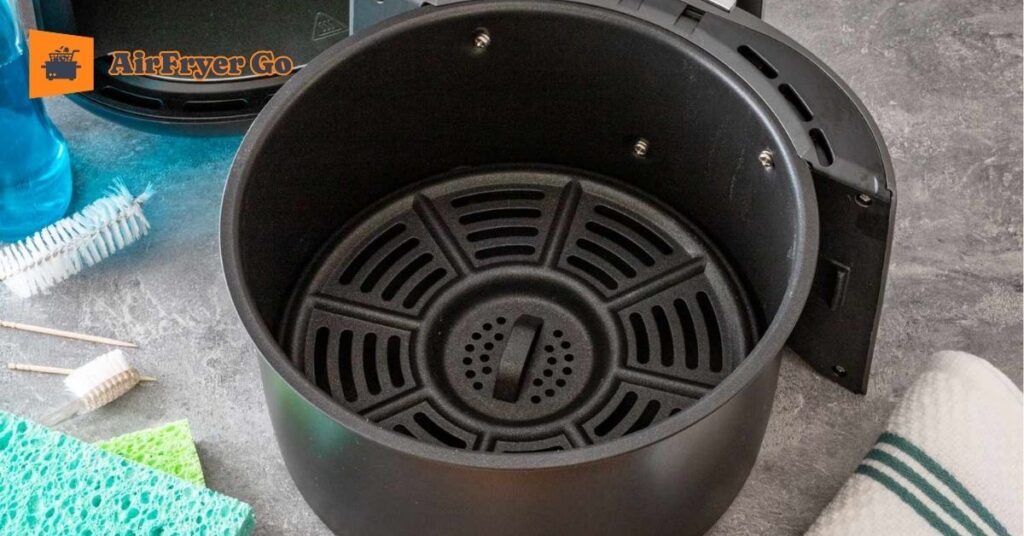
Step 2: Disassemble the Components
Remove the basket, tray, and any other removable parts from the air fryer. These components are often the dirtiest and need the most attention.
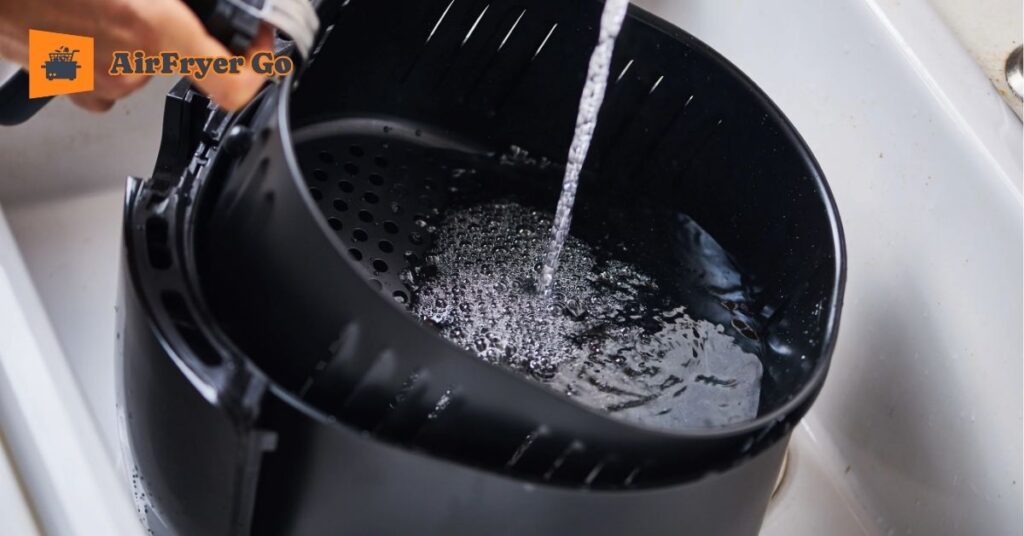
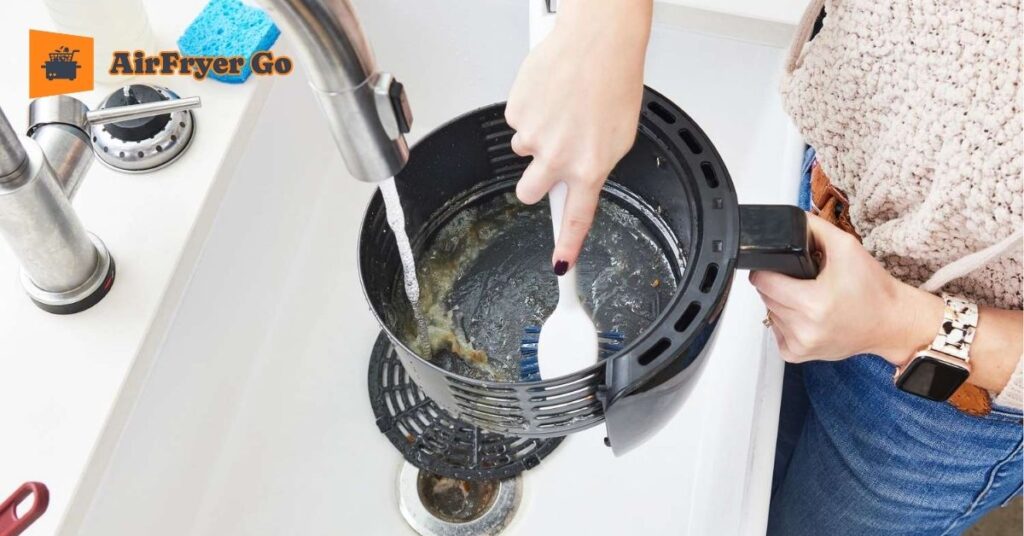
Step 3: Wash the Removable Parts
Use warm water, mild dish soap, and a soft sponge to clean the basket and tray. For stubborn grease, soak the parts in soapy water for 10-15 minutes before scrubbing. If they’re dishwasher-safe, you can place them on the top rack for easier cleaning.
Step 4: Wipe Down the Interior
Dampen a soft cloth or sponge with soapy water and gently wipe the inside of the air fryer. Be careful not to let water drip into the heating element or electrical components.
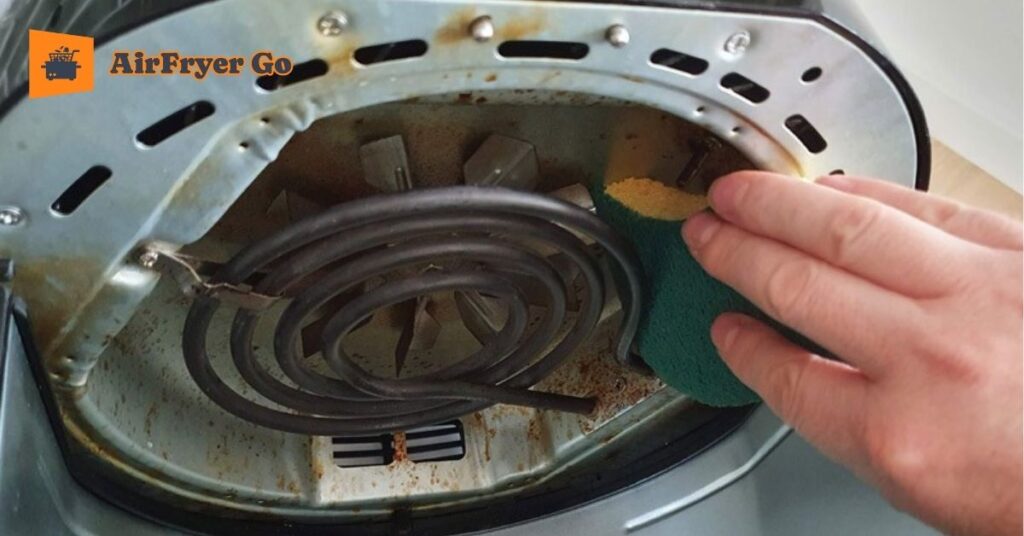
Step 5: Clean the Heating Element
Flip the air fryer upside down (if safe to do so) to access the heating element. Use a non-abrasive brush or cloth to remove any debris or residue. Avoid using water directly on the heating element.
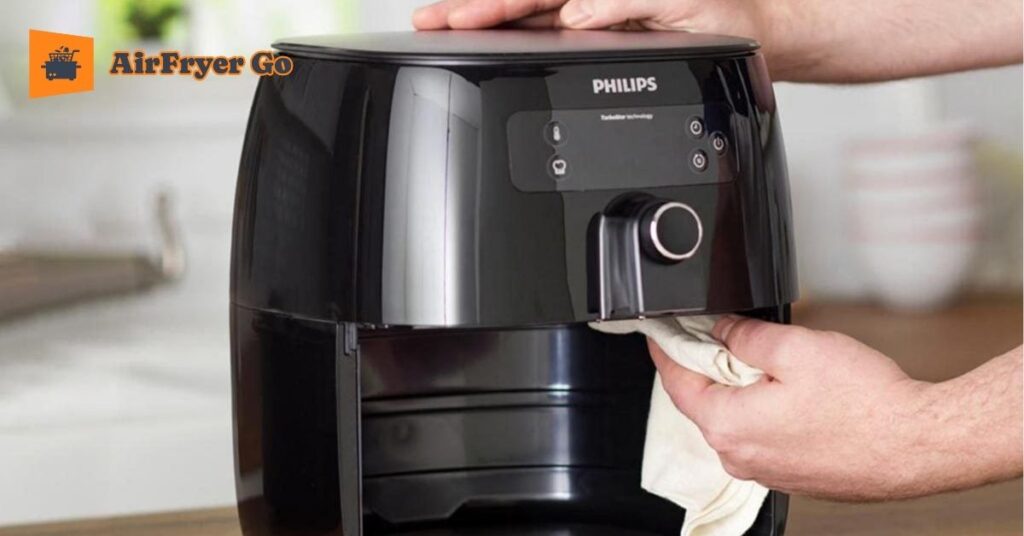
Step 6: Wipe the Exterior
The outside of your air fryer can collect dust and grease. Wipe it down with a damp cloth and mild soap, then dry it with a microfiber cloth for a polished finish.
Step 7: Dry All Components
Ensure all parts are completely dry before reassembling. Use a clean microfiber cloth or let the components air-dry on a rack.
Step 8: Reassemble and Store
Once everything is clean and dry, reassemble your air fryer and store it in a clean, dry place.
By following these steps, you can ensure that your air fryer remains in excellent condition and ready for your next cooking adventure.
Cleaning Air Fryer Hacks for Busy Users

If you’re short on time but want to keep your air fryer clean and efficient, these simple cleaning hacks can make the process quicker and easier. Here’s how to save time while maintaining your air fryer:
Use Baking Soda Paste for Stubborn Stains
Mix baking soda with a small amount of water to form a paste. Apply it to greasy or stuck-on spots, let it sit for 10 minutes, and then scrub gently with a non-abrasive brush.
Steam Clean for Effortless Maintenance
Fill the air fryer basket with water and a few slices of lemon, then run the air fryer at 200°F (90°C) for about 5 minutes. The steam loosens grease and debris, making it easier to wipe clean.
Line the Basket with Parchment Paper
Before cooking, line the basket with parchment paper to catch drips and crumbs. This reduces the amount of cleaning needed after cooking.
Use a Silicone Brush for Hard-to-Reach Areas
A silicone brush is perfect for scrubbing crevices and corners without scratching the surface.
Dishwasher-Safe Components
If your air fryer’s basket and tray are dishwasher-safe, simply load them into the dishwasher for hassle-free cleaning.
Quick Wipe After Each Use
After every cooking session, give the basket and interior a quick wipe with a damp cloth. This prevents grease buildup and makes deep cleaning less frequent.
Try Vinegar for Odor Removal
If your air fryer retains food odors, wipe the interior with a mixture of vinegar and water. This neutralizes smells and leaves the appliance fresh.
These hacks are designed to make cleaning more manageable for busy individuals, ensuring your air fryer stays in great shape with minimal effort.
Dos and Don’ts When Cleaning Your Air Fryer
Proper cleaning of your air fryer is essential to maintain its performance and longevity. Follow these dos and don’ts to ensure you’re using the best practices:
Dos:
- Clean After Every Use: Wipe down the basket and interior to prevent grease buildup and lingering odors.
- Use Mild Cleaning Products: Opt for gentle dish soap and non-abrasive sponges to avoid damaging the non-stick coating.
- Handle Heating Elements with Care: Use a soft cloth or brush to gently clean around the heating element without applying excessive pressure.
- Check for Dishwasher-Safe Components: Confirm whether your basket and tray can go in the dishwasher for convenient cleaning.
- Dry Thoroughly: Always ensure all parts are completely dry before reassembling to prevent mold or rust.
Don’ts:
- Avoid Submerging the Main Unit in Water: The electrical components can be damaged if exposed to water. Clean the exterior with a damp cloth instead.
- Don’t Use Abrasive Tools: Steel wool or harsh scrubbing pads can scratch and damage the non-stick coating.
- Steer Clear of Harsh Chemicals: Avoid bleach or strong detergents, as they can damage your air fryer’s finish and leave harmful residues.
- Don’t Ignore the Heating Element: Neglecting this area can lead to poor performance and unpleasant smells.
- Don’t Rush the Process: Skipping steps, like drying, can lead to longer-term issues like rust or buildup.
By following these dos and don’ts, you can keep your air fryer clean, safe, and ready to deliver delicious meals every time.
Common Cleaning Mistakes to Avoid
Properly maintaining your air fryer requires knowing what not to do. Here are some common cleaning mistakes to avoid, ensuring your appliance remains in top condition:
1. Skipping Regular Cleaning
Neglecting to clean your air fryer after every use allows grease and food residue to build up. Over time, this can lead to unpleasant odors, poor performance, and even damage to the appliance.
2. Using Abrasive Materials
Harsh scrubbing pads or steel wool can scratch the non-stick coating on your air fryer’s basket and tray, reducing their effectiveness and lifespan.
3. Submerging the Main Unit in Water
The main unit contains electrical components that can be damaged if exposed to water. Always clean it with a damp cloth and avoid immersing it entirely.
4. Overlooking the Heating Element
Food particles and grease can accumulate on the heating element, causing odors or uneven cooking. Always inspect and gently clean this area during your cleaning routine.
5. Not Drying Thoroughly
Failing to dry the air fryer’s components before reassembly can lead to mold growth or rust, especially in hard-to-reach areas.
6. Using Harsh Chemicals
Strong cleaning agents like bleach or ammonia can damage the non-stick surface and leave harmful residues that might affect the food you cook.
7. Ignoring Manufacturer’s Instructions
Every air fryer model is different. Failing to follow the manufacturer’s cleaning guidelines can lead to accidental damage or void the warranty.
Avoiding these common mistakes will help keep your air fryer in excellent working order, ensuring it delivers delicious results every time.
How to Maintain Your Air Fryer for Longevity
Proper maintenance is key to keeping your air fryer in excellent condition and extending its lifespan. Follow these tips to ensure your appliance remains reliable for years to come:
1. Clean Regularly
After each use, clean the basket, tray, and interior of the air fryer to prevent grease and residue buildup. This routine helps maintain hygiene and optimal performance.
2. Handle with Care
Avoid using sharp utensils or abrasive cleaning tools that can scratch the non-stick coating. Use silicone or wooden tools for cooking and soft sponges for cleaning.
3. Inspect for Wear and Tear
Regularly check for signs of damage, such as peeling non-stick coating or worn-out components. Replace damaged parts promptly to prevent further issues.
4. Use Parchment Paper or Liners
Lining the basket with parchment paper or reusable liners during cooking reduces mess and makes cleanup easier, protecting the non-stick surface.
5. Avoid Overloading the Basket
Overloading the basket can strain the appliance and lead to uneven cooking. Follow the manufacturer’s recommendations for capacity to ensure smooth operation.
6. Store Properly
When not in use, store your air fryer in a clean, dry place to protect it from dust and moisture. Ensure it’s unplugged and cooled down completely before storage.
7. Perform Deep Cleaning Periodically
In addition to routine cleaning, perform a deep clean once a month. Pay special attention to the heating element, vents, and other often-overlooked areas.
8. Follow Manufacturer’s Guidelines
Refer to the user manual for specific care instructions tailored to your air fryer model. Following these guidelines ensures proper maintenance without risking damage.
By incorporating these maintenance habits, you’ll enjoy a consistently performing air fryer and avoid the need for costly repairs or replacements.
Frequently Asked Questions (FAQs)
1. How often should I clean my air fryer?
You should clean your air fryer after every use to prevent grease buildup, odors, and contamination. Additionally, perform a deep clean at least once a month to maintain optimal performance.
2. Can I put air fryer parts in the dishwasher?
Most air fryer baskets and trays are dishwasher-safe, but it’s essential to check the manufacturer’s guidelines. If they aren’t dishwasher-safe, wash them with mild soap and a soft sponge.
3. What’s the best way to clean stubborn grease?
For stubborn grease, use a baking soda paste or soak the greasy parts in warm soapy water for 10-15 minutes before scrubbing gently with a non-abrasive brush.
4. How do I clean the heating element?
To clean the heating element, unplug the air fryer and let it cool. Use a soft brush or damp cloth to remove food residue. Avoid using water directly on the element to prevent damage.
5. Can I use harsh chemicals to clean my air fryer?
No, harsh chemicals like bleach or ammonia can damage the non-stick coating and leave harmful residues. Use mild dish soap, baking soda, or vinegar for safe and effective cleaning.
6. Why does my air fryer smell even after cleaning?
Persistent odors may be caused by grease trapped in hidden areas or vents. Wipe down the interior with a mixture of vinegar and water, or run a steam-cleaning cycle using lemon slices in water.
7. How can I prevent food from sticking to the basket?
Use a light coating of cooking spray or line the basket with parchment paper to prevent sticking. Avoid overcrowding the basket to ensure even cooking.
8. What should I do if my air fryer starts smoking?
Smoking is often caused by excess grease. Pause cooking, unplug the air fryer, and clean the basket and tray. Make sure no oil has dripped onto the heating element.
These FAQs address common concerns, ensuring you get the most out of your air fryer while keeping it clean and efficient.
Conclusion
Keeping your air fryer clean is essential for maintaining its performance, ensuring food safety, and prolonging its lifespan. By following the tips and hacks shared in this guide, you can make cleaning quick, easy, and hassle-free. Remember, a clean air fryer not only delivers better-tasting meals but also keeps your cooking experience enjoyable and stress-free.
For more expert advice, cleaning tips, and all things air fryer-related, visit AirFryer Go—your trusted resource for making the most out of your favorite kitchen appliance.