Discover our exclusive collection of professional air fryer seafood recipes here at AirFryer Go, designed to help you master the art of perfectly succulent seafood every single time. Have you ever struggled with rubbery shrimp, overcooked fish fillets, or soggy breading that ruined your dinner?
Don’t let temperature guesswork stand between you and a gourmet meal. With our expert-tested techniques, you will learn the science of ‘moisture-locking’ high-heat air frying to achieve a golden, crispy crust while keeping the delicate interior tender and flaky. Let’s elevate your kitchen skills and transform your air fryer into the ultimate seafood station today.
>>> Read More: The Ultimate Air Fryer Recipe Index: 101+ Easy & Healthy Ideas for Every Meal
The Science of Air Frying Seafood

At AirFryer Go, we treat the air fryer not as a convenience gadget, but as a high-precision convection oven. When it comes to seafood, the margin for error is razor-thin. Unlike pork or beef, which have connective tissues that require long, slow breakdown, seafood proteins are delicate and possess very little intramuscular fat.
To achieve restaurant-quality results, you must master the delicate balance between thermal conduction and evaporation.
1. The Denaturation Window (Why Seafood Goes “Rubbery”)
The proteins in fish and shellfish begin to denature (coagulate) at temperatures as low as 120°F (49°C). By the time your seafood reaches 145°F (63°C), most of the natural moisture has been expelled.
- The Solution: We utilize high-heat, short-duration cooking. By setting your air fryer to 400°F (204°C), we trigger the Maillard reaction (browning) on the surface instantly, creating a “crust” that acts as a physical barrier. This traps the internal juices inside, preventing the protein from turning into a dry, rubbery brick.
2. The Moisture Barrier (The “Fat-Bridge” Technique)
Air fryers work by blasting dry air, which is the natural enemy of lean seafood. If you place a naked fillet of cod or a shrimp into the basket, the air will strip the surface moisture, leading to a “boiled” texture.
- The Technique: Always apply a thin, uniform “fat-bridge”—either a high-smoke-point oil (like avocado or grapeseed) or melted butter—to the surface. This fat acts as a thermal conductor, drawing the heat into the meat evenly and preventing the surface from dehydrating before the center is cooked.
3. Aeration vs. Crowding
Seafood releases water vapor as it cooks. If you crowd your air fryer basket, that vapor gets trapped, turning your meal into a steaming box rather than a fryer.
- The Rule: Leave at least 1 inch of space between each piece of fish or shrimp. If you are cooking a large batch, cook in rounds. The extra 3 minutes of waiting ensures that the hot air hits the entire surface area, which is the only way to achieve a crisp finish.
4. The “Carry-Over” Reality
Because air fryers are so efficient at heat transfer, seafood continues to cook for 1–2 minutes after you pull it out of the basket.
- The Pro-Tip: Pull your seafood at 130°F (54°C) for firm fish and 120°F (49°C) for shellfish. The residual heat will carry the internal temperature to the perfect, succulent finishing point while you transfer the food to the plate.
Quick Reference: The Science of Heat
| Seafood Type | Density | Ideal Strategy |
| Lean Fish (Cod/Tilapia) | Low | High heat, short time, oil-coating mandatory. |
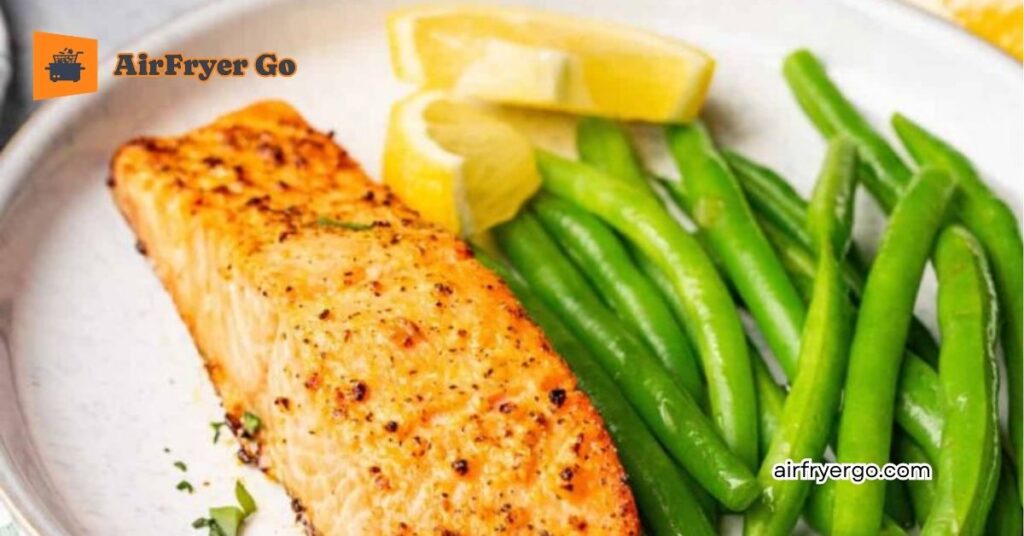
| Fatty Fish (Salmon/Tuna) | Medium | Medium-high heat to render natural oils. |
| Shellfish (Shrimp/Lobster) | High | Intense heat to sear; pull immediately. |
| Mollusks (Scallops/Calamari) | Very High | Flash-sear; absolutely no crowding. |
The Everyday Essentials
These AirFryer Go essentials are the “workhorses” of your kitchen. They are fast, healthy, and designed to turn basic pantry or freezer staples into a high-quality meal in under 15 minutes.
The Master Base Method for Essentials
- Prep: Pat your seafood bone-dry (the golden rule for a crust!).
- Oil: Always use a light mist of avocado or grapeseed oil (high smoke point).
- Heat: Preheat your air fryer for 3 minutes.
- The “3-Minute Rule”: Always check your seafood 3 minutes before the timer ends to ensure it hasn’t overcooked.
6 Easy Recipes for Your Daily Rotation
| Recipe Style | Protein | Temp | Time | Pro-Tip |
| 1. Crispy Frozen Fillets | Cod/Pollock | 375°F (190°C) | 12–14m | Don’t defrost! Cook straight from frozen for crunch. |
| 2. Garlic Butter Shrimp | Peeled Shrimp | 400°F (204°C) | 6–8m | Toss with melted butter and parsley after frying. |
| 3. Herb-Crusted Tilapia | Tilapia Fillets | 375°F (190°C) | 8–10m | Use panko mixed with dried basil for an instant crunch. |
| 4. Lemon Pepper Flounder | Flounder | 375°F (190°C) | 7–9m | Flounder is thin; flip carefully to avoid breaking. |
| 5. Classic Air-Fried Cod | Cod Loins | 380°F (193°C) | 10–12m | Cod releases water; ensure plenty of space in the basket. |
| 6. Simple Snapper | Snapper Fillets | 380°F (193°C) | 9–11m | Score the skin slightly to let the heat penetrate evenly. |
Tips for Everyday Seafood
- The “Frozen” Advantage: You don’t need to thaw your frozen fish fillets! Cooking them from frozen keeps the center from turning into “mush.” Just add 3–4 minutes to the cooking time and ensure the edges are golden before pulling them out.
- Mastering the “Flip”: For delicate fish like Tilapia or Flounder, use a wide silicone spatula. If you don’t have one, parchment paper with holes is your best friend—it prevents sticking and allows air to flow through.
- Don’t Over-Season: Seafood is naturally sweet and delicate. A simple mix of sea salt, cracked black pepper, and a touch of paprika or garlic powder is all you need. Avoid heavy, wet marinades that contain high sugar (like Teriyaki) until the final 2 minutes, otherwise, they will burn before the fish is cooked.
- The “Doneness” Check: A fork is your best tool. Insert it into the thickest part of the fish and gently twist. If the fish flakes easily and the flesh is opaque (no longer translucent), it’s done. If it resists, give it one more minute.
Gourmet at Home
When you want to elevate your weeknight dinner into a restaurant-worthy experience, the air fryer becomes your best sous-chef. These Gourmet at Home recipes focus on high-end textures: the buttery silkiness of lobster, the golden-crusted sear of scallops, and the rich, flakey nature of premium fish.
The “Gourmet” Precision Rules
- Shell-on Protection: For lobster, keep the shell on for the first half of cooking to steam the meat, then flip to sear the flesh.
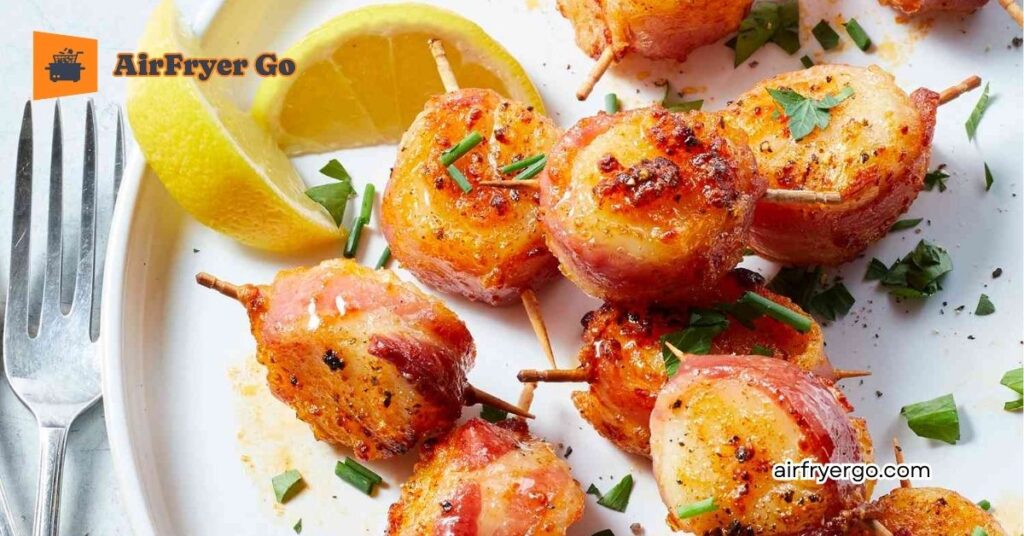
- The Scallop Dry-Down: Scallops must be patted dry. Any surface moisture will cause them to steam rather than sear, ruining the delicate crust.
- Internal Temp (The “Chef’s Pull”): Pull gourmet seafood at 125°F (52°C). It will carry-over to a perfect, buttery 130°F (54°C) while you prep your plating.
6 Gourmet Recipes for the Air Fryer
| Recipe Style | Protein | Temp | Time | Pro-Tip |
| 1. Butter-Basted Lobster Tail | Lobster | 375°F (190°C) | 7–9m | Butterfly the shell; brush with garlic-herb butter. |
| 2. Pan-Seared Scallops | Scallops | 400°F (204°C) | 5–6m | A quick sear; serve with a lemon-dill reduction. |
| 3. Miso-Glazed Sea Bass | Sea Bass | 380°F (193°C) | 10–12m | Glaze in the final 3 mins to prevent miso burning. |
| 4. Hamachi Kama (Collar) | Yellowtail | 400°F (204°C) | 12–15m | Skin-side down first; high heat renders the fat. |
| 5. Crusted Ahi Tuna | Tuna Steak | 400°F (204°C) | 4–6m | Keep it “rare” in the center; only flash-sear outside. |
| 6. Lemon-Caper Halibut | Halibut | 375°F (190°C) | 10–12m | Use parchment paper; Halibut is lean and delicate. |
Tips for Gourmet Cuts
- The Lobster “Butterfly” Technique: To make lobster tails look professional, use kitchen shears to cut down the center of the top shell. Gently pull the meat out and rest it on top of the shell. This ensures the meat cooks evenly and presents beautifully.
- Mastering the Hamachi Kama: The yellowtail collar is the richest part of the fish. Because it has so much natural fat, it will smoke if you aren’t careful. Use the “Bread Hack” (placing a slice of bread at the bottom of the basket) to catch rendering oils instantly.
- The Tuna “Sear” Secret: Do not cook tuna past medium-rare. The goal is a crusty, seasoned exterior with a cool, vibrant pink center. If you cook it to “well-done,” you lose the silky texture that makes tuna a premium protein.
- Parchment Paper is Mandatory: For delicate white fish like Halibut or Sea Bass, place the fish on a sheet of parchment paper cut to fit the basket. This makes transferring the fish to the plate effortless—you won’t lose half your fillet to the air fryer rack.
>>> Read More: The Best Damn Air Fryer Salmon: Crispy & Juicy Every Time
Specialized Delicacies
When you move into Specialized Delicacies, you are no longer just cooking protein—you are managing texture. Whether it’s the shatteringly crisp exterior of calamari or the rich, briny depth of sardines, these recipes require specific “tricks” to balance moisture with the intense, dry heat of an air fryer.
The “Texture Master” Protocol
- The “Binder” Requirement: For breaded items like calamari, you must use a dual-stage coating (flour, then egg wash, then breading) to ensure the coating doesn’t slide off in the high-velocity air.
- The “Flash-Fry” Logic: Delicate items like sardines or crab cakes need high heat for a very short time to avoid drying out the interior.
- Oil Management: A light spray of oil is non-negotiable here; it is the catalyst that turns raw flour or breadcrumbs into a golden, crispy crust.
6 Specialized Delicacies for the Air Fryer
| Recipe Style | Protein | Temp | Time | Pro-Tip |
| 1. Crispy Fried Calamari | Squid Rings | 400°F (204°C) | 8–10m | Use panko + cornstarch for maximum crunch. |
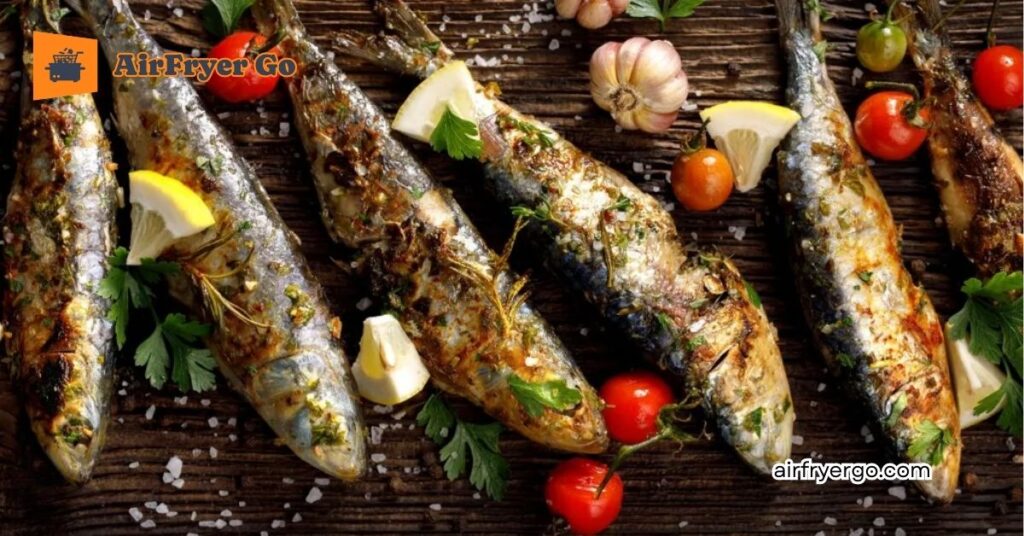
| 2. Roasted Sardines | Whole Sardines | 400°F (204°C) | 6–8m | Don’t flip! Use olive oil and lemon zest. |
| 3. Lump Crab Cakes | Crab Meat | 375°F (190°C) | 10–12m | Chill the cakes for 15 mins before frying to set. |
| 4. Air-Fried Soft Shell Crab | Whole Crab | 400°F (204°C) | 12–14m | Pat shell bone-dry; deep-fry texture in 1/4 the time. |
| 5. Spicy Walleye Bites | Walleye | 380°F (193°C) | 8–10m | Use a light dusting of Cajun spice for a “pop.” |
| 6. Tuna Melt “Crostini” | Tuna Salad | 350°F (177°C) | 4–6m | Serve on top of toasted baguettes for a bite-sized treat. |
Tips for Specialized Seafood
- The Calamari “Soggy-Proof” Hack: Calamari releases a lot of moisture. After cleaning the rings, soak them in milk for 30 minutes before breading. This helps tenderize the protein. Most importantly, do not crowd the basket; the rings need room to breathe, or they will steam into a rubbery mess.
- Mastering the Crab Cake: Crab cakes in an air fryer can fall apart if they are too wet. Use Panko breadcrumbs instead of traditional breadcrumbs; they stay crispy longer under intense heat. Always use a binder like Dijon mustard or high-quality mayonnaise to keep the lump crab meat bound together.
- The “Whole Sardine” Secret: Sardines are oily, which makes them perfect for the air fryer. They don’t need breading. Instead, coat them in a rub of fennel seeds, sea salt, and lemon zest. The high heat renders the healthy omega-3 oils, making them incredibly savory without adding extra fat.
- The “Resting” Window: For fried items like calamari, the “crisp” continues to develop for about 60 seconds after you take them out. Transfer them immediately to a wire rack rather than a plate—a plate will trap steam and ruin the hard-earned crunch.
The AirFryer Go Master Seafood Chart
This AirFryer Go Master Seafood Chart is designed as a high-value, “bookmarkable” resource for your readers. By standardizing the variables for different seafood types, you position AirFryer Go as the definitive authority for precision cooking.
AirFryer Go: Ultimate Seafood Cooking Reference
Note: All times are based on an air fryer preheated for 3 minutes. Always pat your seafood dry with paper towels before seasoning.
| Seafood Category | Protein Type | Temp (°F) | Temp (°C) | Est. Time (Min) | Internal Goal (°F) |
| Shellfish | Shrimp (Peeled) | 400 | 204 | 5–7 | Opaque/Pink |
| Shellfish | Lobster Tail | 375 | 190 | 7–9 | 140 |
| Mollusks | Scallops | 400 | 204 | 5–6 | 130 |
| Mollusks | Calamari Rings | 400 | 204 | 8–10 | Tender |
| White Fish | Cod / Tilapia | 375 | 190 | 8–10 | 145 |
| White Fish | Flounder | 375 | 190 | 7–9 | 145 |
| Oily Fish | Salmon / Trout | 380 | 193 | 10–12 | 145 |
| Premium | Sea Bass | 380 | 193 | 10–12 | 140 |
| Premium | Ahi Tuna Steak | 400 | 204 | 4–6 | Rare/Med-Rare |
| Whole Fish | Sardines | 400 | 204 | 6–8 | Flaky |
| Frozen | Fish Fillets | 375 | 190 | 12–15 | 145 |
Essential Rules for Using This Chart
1. The “Preheat” Protocol
Never start your seafood in a cold air fryer. Because seafood cooks so rapidly, a cold start results in “soggy” proteins as the air fryer slowly climbs to temperature. Preheat for 3 minutes to ensure the immediate “crust” formation.
2. The “3-Minute Check”
Seafood proteins contain very little connective tissue compared to red meat. This means they go from “perfectly cooked” to “rubbery” in a matter of seconds. Always check your food 3 minutes before the timer ends. If it is opaque and flakes easily with a fork, pull it immediately.
3. The “Oil-Mist” Strategy
Air fryers are moisture-stripping machines. To achieve the Maillard reaction (browning) without drying out the interior, always use a high-smoke-point oil (Avocado, Grapeseed, or Light Olive Oil). Do not use extra virgin olive oil for temperatures above 375°F (190°C), as it will burn and become bitter.
4. The “Carry-Over” Rule
Seafood will continue to cook for 1–2 minutes after leaving the air fryer. If you pull a scallop at 130°F (54°C), it will climb to the perfect temperature on the plate. If you wait until it reads the target temperature inside the fryer, you have already overshot the finish line.
Troubleshooting: “The 3-Minute Rule”

Seafood is a high-stakes protein—it goes from “succulent” to “rubber” in the blink of an eye. At AirFryer Go, we don’t believe in “ruined” dinners. When things go sideways, use The 3-Minute Rule to pivot and save your meal.
1. The “Rubbery Texture” Rescue
If you pull your shrimp or scallops and they feel firm/bouncy (a sign of overcooking), the muscle fibers have tightened and pushed out their moisture.
- The Rescue: Do not reheat! Slice the seafood into smaller, bite-sized pieces and toss them immediately in a warm citrus-butter emulsion or a creamy sauce. The fat and acid will coat the proteins, providing the “mouthfeel” that the lost internal moisture once supplied.
- The Lesson: In the future, pull your shellfish at 120°F (49°C). The residual heat is your best friend.
2. The “Soggy Breading” Incident
You pulled your breaded cod or calamari, but the coating is pale, loose, and sliding off the fish.
- The Rescue: The High-Heat Crisp-Up. Don’t cook it longer at a low temp—that will just dry out the fish. Crank your air fryer to 400°F (204°C) and spritz the coating lightly with avocado oil. Blast it for exactly 2–3 minutes. This forces a quick Maillard reaction on the surface without penetrating the meat.
- The Lesson: Breading slides off when the surface is wet. Always pat the fish bone-dry before the egg wash.
3. The “Stuck-to-the-Rack” Disaster
You try to flip your salmon or sea bass, but half the skin/flesh stays welded to the air fryer basket.
- The Rescue: The Scrape-and-Serve. Don’t try to force the rest off. Gently scrape the stuck pieces into the basket to get a crispy “fish skin chicharrón” (a delicious, crunchy topping). Plate your fish flesh-side up and garnish it with those crispy bits. No one will know it wasn’t planned.
- The Lesson: Use parchment paper with perforations for any fish with skin-on or delicate fillets. It is the gold standard for “non-stick” air frying.
4. The “Fishy Odor” Alarm
You’ve finished cooking, and the kitchen smells like a pier.
- The Rescue: The Steam Refresh. Immediately clean the basket with hot soapy water. While the air fryer is still warm, place a bowl of water with half a lemon inside. Run it at 350°F (177°C) for 5 minutes. The lemon-steam neutralizes the amines (the compounds responsible for the fishy smell).
- The Lesson: Use high-smoke-point oils (avocado/grapeseed). Lower-quality oils burn at high temps, creating acrid smoke that traps odors in the basket.
Quick Reference: The 3-Minute Save Table
| Problem | Immediate Fix | Preventive Measure |
| Rubbery/Dry | Toss in warm citrus-butter | Pull 3 mins early (120°F/49°C) |
| Soggy Breading | 400°F “High-Heat” Blast (2-3m) | Pat fish bone-dry before coating |
| Stuck-to-Rack | Scrape & serve as “skin topping” | Use parchment paper liner |
| Fishy Odor | Lemon-steam cycle (350°F, 5m) | Use high-smoke-point oil |
FAQs
1. Why does my seafood smell “fishy” after air frying?
Fishy odors often come from using oils with low smoke points (like butter or extra virgin olive oil) that burn at high temperatures. Always use high-smoke-point oils such as avocado, grapeseed, or refined coconut oil. Additionally, ensure your air fryer basket is thoroughly cleaned after every use to prevent residual oil buildup from oxidizing.
2. Do I need to thaw frozen fish before putting it in the air fryer?
No! You can cook frozen fish fillets directly from the freezer. Simply add 3–5 minutes to the cooking time and start at a slightly lower temperature (350°F / 177°C) for the first few minutes to thaw the center, then increase to 375°F / 190°C for the final browning.
3. How do I prevent breaded seafood from getting soggy?
Sogginess is caused by moisture trapped between the protein and the coating. The secret is the “Pat-Dry-Bond” method: pat your fish bone-dry before dredging in flour, dip in a well-whisked egg wash, and press your breadcrumbs firmly onto the surface. Let the breaded fish sit on a wire rack for 10 minutes before cooking so the coating can “set.”
4. Can I cook skin-on fish in the air fryer?
Absolutely, but sticking is the primary risk. To avoid this, always use perforated parchment paper specifically designed for air fryers. This keeps the skin from welding to the metal rack while still allowing the hot air to circulate and render the fat, resulting in a crispy, professional finish.
5. Why is my shrimp coming out rubbery?
Shrimp is a high-density protein that reacts instantly to heat. Once the internal temperature exceeds 120°F (49°C), the fibers begin to contract violently. The 3-Minute Rule is your best friend here: check your shrimp 3 minutes before your timer is set to go off. If they are opaque and slightly curled into a “C” shape, they are ready.
6. Is it safe to cook delicate fish like Flounder or Tilapia?
Yes, but you must treat them with care. These thin white fish require a slightly lower temperature (350°F–375°F) to ensure the center cooks through before the exterior dries out. Always use a wide, thin spatula when flipping, or use a parchment liner to move the fish in one piece.
7. How do I know when my seafood is perfectly cooked?
Forget the “time-per-pound” rule; it is unreliable. Use an instant-read digital thermometer. Aim for an internal temperature of 130°F–135°F (54°C–57°C) for firm fish and 120°F (49°C) for shellfish. Remember, the temperature will rise an additional 5°F during the 2-minute resting phase.
Conclusion
Mastering seafood in an air fryer is no longer a game of chance. By moving away from “time-based” cooking and embracing the science of moisture-locking, high-heat searing, and proper aeration, you now have the professional toolkit to transform any delicate fillet or crustacean into a restaurant-quality masterpiece.
Whether you are searing scallops for a special occasion or air-frying frozen fish fillets for a quick, healthy weeknight dinner, remember: the secret lies in the details. From patting your seafood bone-dry to respecting the “3-Minute Rule,” these small, expert adjustments at AirFryer Go yield massive results in texture and flavor every single time.
Ready to start your seafood journey?
- Take Action: Select your favorite protein from our Master Seafood Chart and put these techniques to the test for dinner tonight.
- Join the Community: Which seafood delicacy are you tackling first? Share your results—or your secret seasoning blend—in the comments below. We love seeing how you’re making these recipes your own!
- Stay Inspired: Hungry for more expert-tested guides? Explore the full library at AirFryer Go for more tips and tricks to elevate your air frying game to the next level.
Happy Air Frying!
Recommended next reads:
25+ Air Fryer Chicken Recipes: Crispy, Juicy and Foolproof
10+ Air Fryer Beef Recipes: Perfect Steaks, Burgers, and More