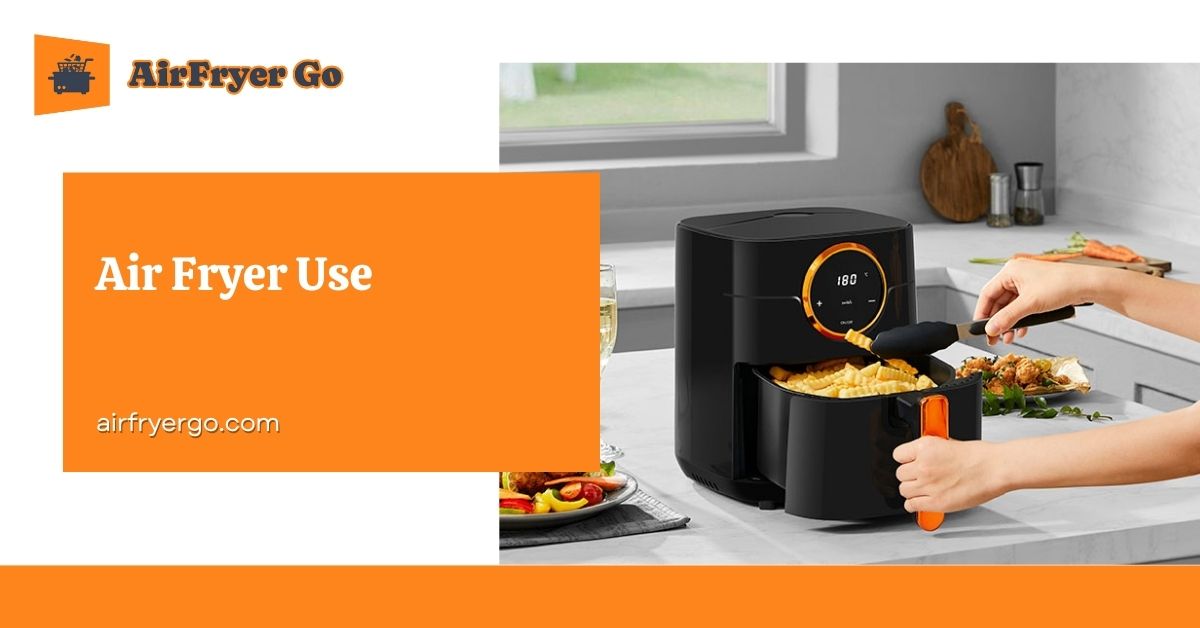
Learning how to use an air fryer settings effectively is the ultimate shortcut to healthier, crispier meals without the guesswork. At AirFryer Go, we’ve seen how a few simple pro-techniques can transform a basic countertop appliance into the most powerful tool in your kitchen.
This master guide skips the fluff and walks you through everything from your very first “test run” to mastering complex temperature conversions. Whether you’re unboxing your first unit or troubleshooting a smoky basket, we’re here to ensure every meal you make is golden, crunchy, and perfectly cooked.
>>> Read More: Best Air Fryer Reviews For Year: Top-Rated Picks for Every Kitchen & Budget
Getting Started: Your First Time Using an Air Fryer
>>> Read More: Preheating Air Fryer: The Secret to Perfect Crunch for Every Brand
Unboxing a new appliance is exciting, but the secret to long-term success lies in those first 15 minutes. At AirFryer Go, we’ve found that a proper setup doesn’t just make your food taste better—it protects your machine and your kitchen surfaces.
1. The “Initial Burn-Off”: Your Most Important Step
Every new air fryer comes with a “new car smell” that you definitely don’t want in your food. This is caused by protective coatings used during manufacturing.
- The Process: After washing the basket with warm, soapy water and drying it thoroughly, run the empty air fryer at 400°F (200°C) for 10 to 15 minutes in a well-ventilated room.
- What to Expect: You might see a tiny bit of smoke or a plastic-like odor. This is completely normal and ensures your first batch of fries doesn’t taste like a factory.
2. Location is Everything
An air fryer is essentially a high-powered wind tunnel. It needs room to breathe.
- The 5-Inch Rule: Always keep at least 5 inches of space between the back of the air fryer (where the exhaust vent is) and your kitchen wall or backsplash.
- Surface Protection: These machines get hot. If you have marble or delicate stone countertops, consider placing the unit on a heat-resistant mat or a wooden cutting board to prevent cracking from heat stress.
3. Essential Beginner’s Kit
Before you cook, make sure you have these three non-negotiables:
- Oil Mister (Not Aerosol): Never use aerosol sprays like Pam directly on the basket; the lecithin in them will ruin the non-stick coating. Use a simple spray bottle with avocado or olive oil.
- Silicone Tongs: Metal utensils are the enemy of your air fryer’s finish. Silicone-tipped tongs are essential for flipping food without scratching the basket.
- Instant-Read Thermometer: Since air fryers cook faster than ovens, a quick temperature check is the only way to ensure your chicken is safe and juicy.
AirFryer Go Pro Tip: Always check the “shipping tape” twice. Manufacturers often hide small pieces of blue tape inside the heating element or under the crumb tray. A quick double-check now prevents a melted plastic disaster later!
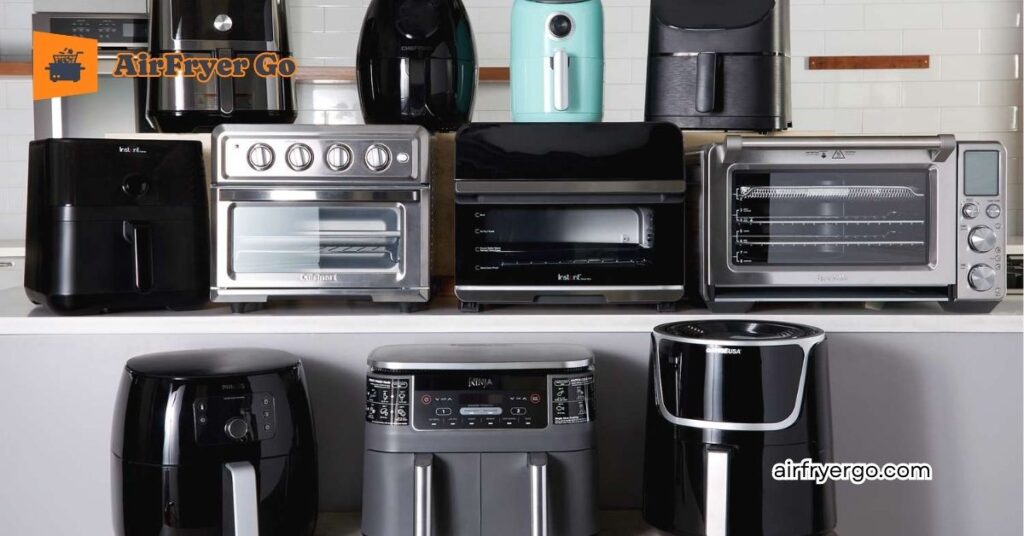
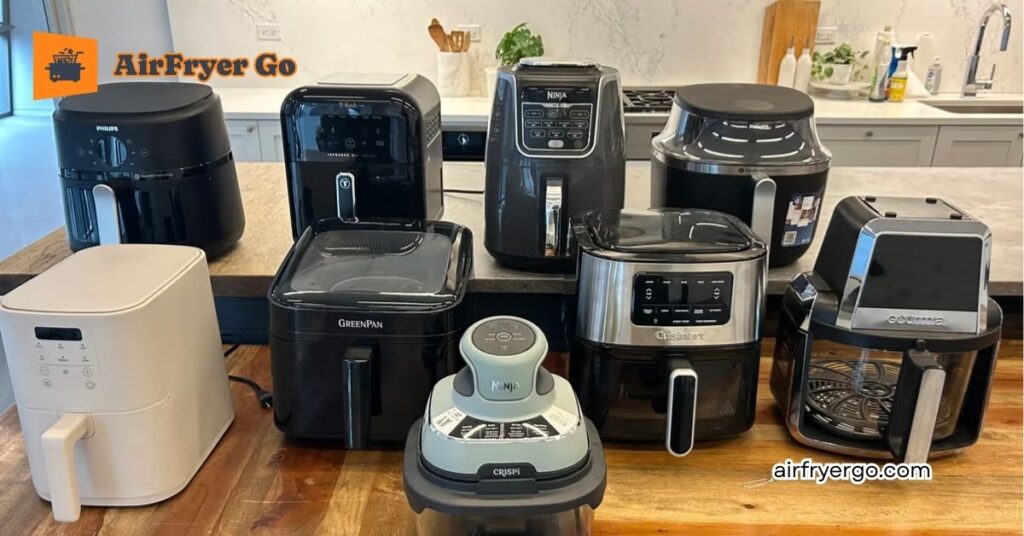
Master Directory: Air Fryer Instructions by Top Brands
>>> Read More: Best Ninja Air Fryer Reviews: Top 5 Models Is Right For Your Kitchen
While the core science of convection is the same, every manufacturer has its own “logic” for presets and interfaces. At AirFryer Go, we’ve tested dozens of models to bring you this quick-start directory for the most popular brands on the market.
1. Ninja (Foodi & Air Fryer Series)
- The Signature: Ninja is known for its high-wattage fans and “Max Crisp” technology.
- Key Tip: Most Ninja models don’t require a long preheat. If yours has a “Max Crisp” button, it’s designed for frozen foods (reaching 450°F (230°C)—don’t use it for fresh, delicate items like fish or vegetables as they will burn instantly.
- Interface: Usually features separate buttons for “Air Fry,” “Roast,” and “Reheat.”
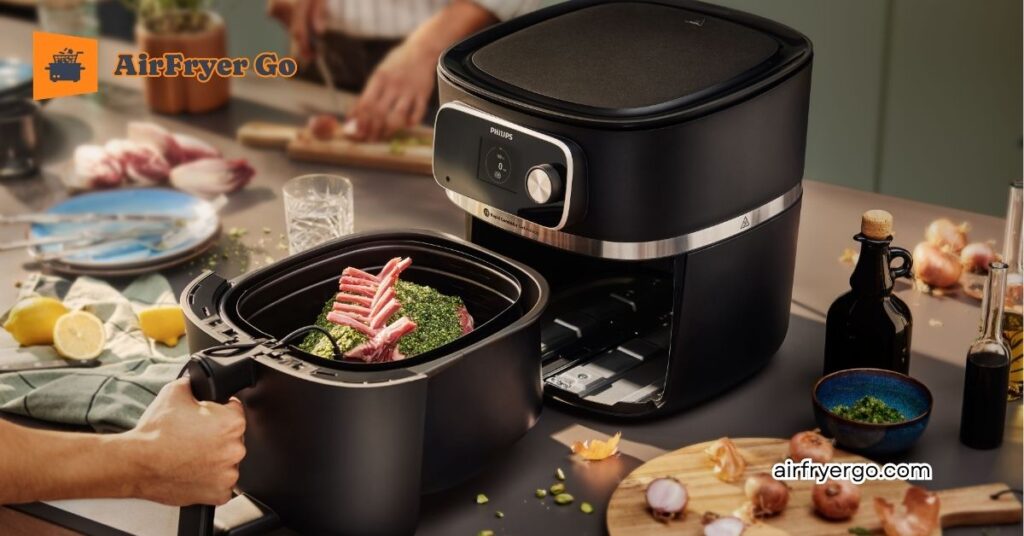
2. Philips (Essential & Premium Collection)
- The Signature: The famous “Starfish” bottom design.
- Key Tip: Philips focuses on bottom-to-top airflow. You don’t necessarily need to shake the basket as often as other brands, but you should avoid using parchment paper that covers the entire starfish base, as it kills the air circulation.
- Interface: Known for the “QuickControl” dial on premium models for tactile precision.
3. Cosori (Pro & Dual Blaze)
- The Signature: User-friendly presets and massive community support.
- Key Tip: Cosori’s “Shake Reminder” is a lifesaver. If you have the Dual Blaze model, you actually don’t need to shake the food because it has heating elements on both the top and bottom.
- Interface: Highly visual with icons for “Chicken,” “Steak,” and “Shrimp.”
4. Instant (Vortex & Omni Plus)
- The Signature: From the makers of Instant Pot, focusing on quiet operation.
- Key Tip: The “EvenCrisp” technology is very effective but gentle. If you are switching from a Ninja to an Instant, you may find you need an extra 2 minutes of cook time to get the same level of browning.
- Interface: Features a “Progress Bar” that tells you exactly when the oven is preheating, cooking, or in the “Turn Food” stage.
Brand Quick Reference Table
| Brand | Preheat Required? | Best Feature | Control Style |
| Ninja | Optional (very fast) | Max Crisp (450°F) | Digital Buttons |
| Philips | No | Starfish Airflow | Dial / Digital |
| Cosori | Yes (3-5 mins) | Shake Reminders | Touchscreen |
| Instant | Built-in Auto Preheat | Odor Erase Filters | Dial + Touch |
AirFryer Go Insight: If your brand isn’t listed here, look for the Wattage. Most standard air fryers are between 1500W and 1700W. If yours is lower (like a compact 1000W model), add 20% to your cooking time. If it’s higher, check your food 2 minutes early to prevent burning!
Temperature and Cooking Time Mastery (The Cheat Sheet)
One of the most common mistakes beginners make is using the same settings they would in a traditional oven. Because air fryers move heat so much faster, that is a one-way ticket to burnt food. At AirFryer Go, we use the “25/25 Rule” to ensure perfect results every time.
1. The Universal Conversion Formula: The 25/25 Rule
To adapt any traditional oven recipe for your air fryer, follow this simple math:
- Reduce Temperature by 25°F (approx. 15°C): If a recipe calls for 400°F in a big oven, set your air fryer to 375°F.
- Reduce Time by 25%: If something takes 20 minutes in the oven, start checking it at 15 minutes.
2. AirFryer Go Quick-Reference Cheat Sheet
Save this list for your most common meals. Note: These times assume you are using a preheated unit.
| Food Item | Temperature | Time | Pro Tip |
| Frozen Fries | 400°F (200°C) | 12–15 mins | Shake every 5 mins for max crunch. |
| Chicken Wings | 380°F (190°C) | 18–22 mins | Pat dry with paper towels first. |
| Salmon Fillet | 375°F (190°C) | 8–12 mins | Skin side down; don’t flip. |
| Bacon | 350°F (175°C) | 7–10 mins | Lay flat; do not overlap. |
| Broccoli Florets | 375°F (190°C) | 6–8 mins | Add 1 tbsp of water under the basket to prevent burning. |
| Steak (1-inch) | 400°F (200°C) | 8–12 mins | Flip halfway; use a meat thermometer. |
3. To Preheat or Not to Preheat?
This is the great debate. At AirFryer Go, we recommend a 3-minute preheat for:
- Searing Meat: You want that “sizzle” the moment the steak hits the tray.
- Baking: Cakes and pastries need immediate heat to rise properly.
- Extra Crispy Fries: Starting with a hot basket prevents the starch from getting gummy.
AirFryer Go Pro Tip: Always use the “Eye Test” toward the end of the timer. Every air fryer model has a slightly different fan speed. When the food looks golden and smells right, it’s usually done—regardless of what the timer says!
>>> Read More: The Ultimate Air Fryer Temps & Times Masterclass
The Golden Rules: How to Use an Air Fryer for Perfect Results
Beyond just setting the timer, there is an “art” to achieving that signature crunch. At AirFryer Go, we’ve identified the four non-negotiable laws that separate soggy snacks from chef-quality meals. Follow these, and you’ll never have a disappointing batch again.
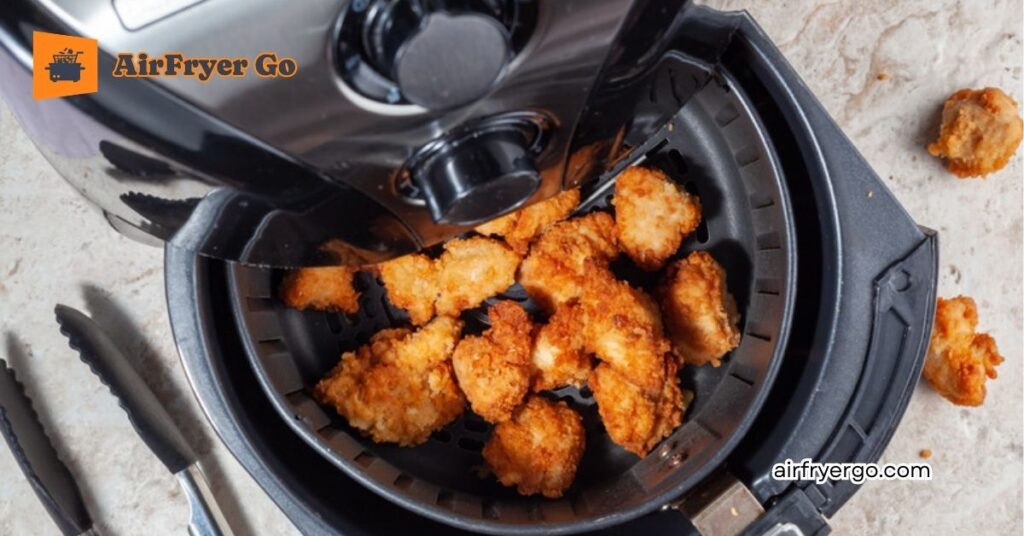
1. The Law of Airflow: Don’t Overcrowd
The most common mistake is treats the air fryer like a deep fryer. In a deep fryer, oil surrounds everything; in an air fryer, wind does the work.
- The Rule: Keep food in a single layer. If you stack chicken breasts or pile up fries, the air cannot reach the middle.
- The Consequence: You’ll end up with “steamed” food that is mushy on the inside and only slightly crisp on the edges.
2. The Shake, Flip, and Rotate Strategy
Even with the best technology, the heat source is usually at the top. This means the top of your food cooks faster than the bottom.
- For Small Items (Fries, Veggies): Pull the basket out every 5 minutes and give it a vigorous shake.
- For Large Items (Steak, Chicken): Use silicone-tipped tongs to flip the meat halfway through the cooking time.
- Why it works: This redistributes the oil and ensures the high-velocity air hits every square inch of the surface.
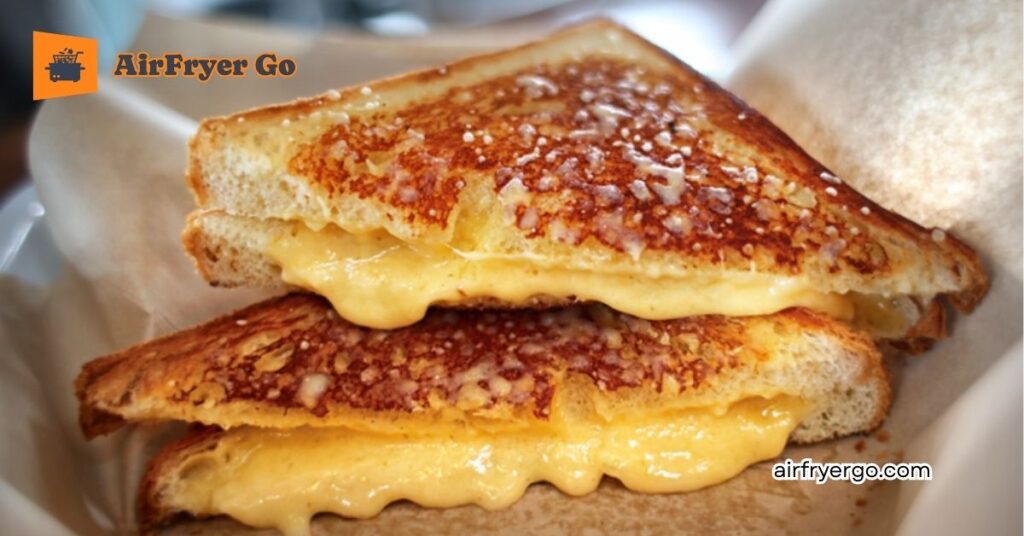
3. The “Dry Surface” Secret
Moisture is the enemy of crispiness. If your food is wet when it goes into the basket, the air fryer has to spend the first 5 minutes “steaming” the water off before it can start crisping.
- Pro Tip: Always pat your meat, potatoes, and even vegetables dry with a paper towel before adding oil or seasoning.
- The Result: Faster cooking times and a much harder, more satisfying “crunch.”
4. Use the Right Oil (and the Right Amount)
You don’t need much, but you usually need some.
- The Rule: Use about 1 teaspoon to 1 tablespoon of oil for most baskets.
- The Method: Don’t pour oil into the basket. Instead, toss your ingredients in a bowl with oil before putting them in, or use an oil mister once they are in the tray.
- High Smoke Point: Only use oils that can handle the heat, like Avocado, Grapeseed, or Light Olive Oil. Avoid butter or extra virgin olive oil for high-heat air frying, as they can smoke and leave a bitter taste.
AirFryer Go Golden Rule: When in doubt, pull it out. Unlike a traditional oven, opening the air fryer basket doesn’t lose much heat. You can check your food as often as you like to prevent burning. It’s the safest way to learn your machine’s personality!
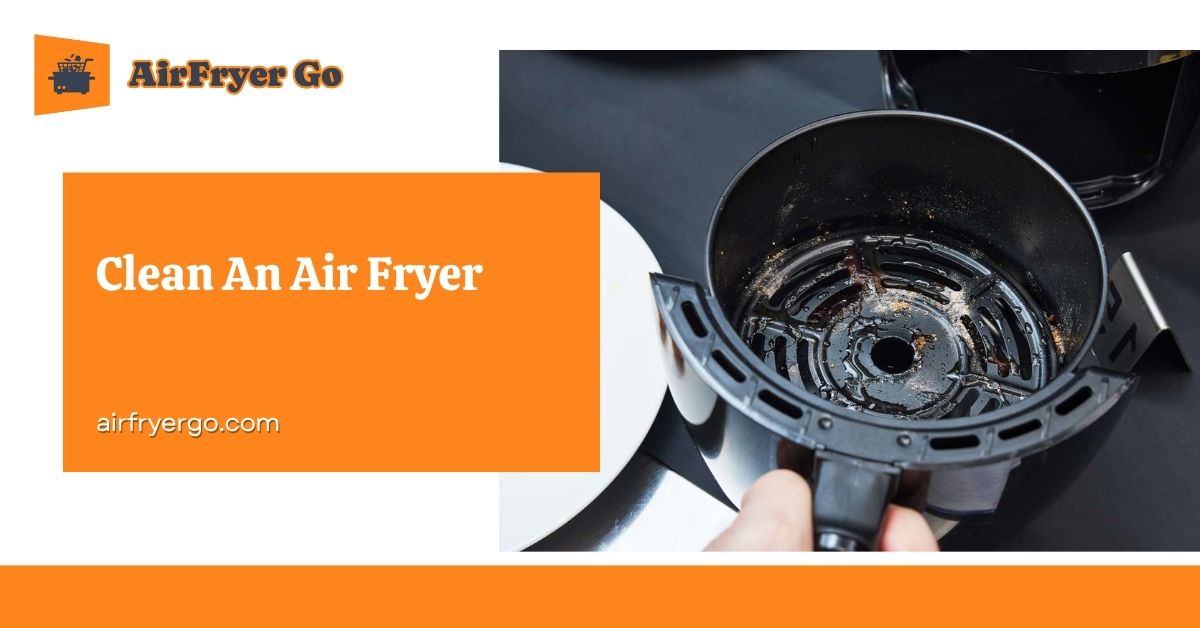
Cleaning and Maintenance: Keeping Your Machine Like New
>>> Read More: How to Clean an Air Fryer: The Ultimate Guide to a Sparkling Machine
Maintaining a clean machine is the difference between a kitchen that smells like fresh dinner and one that smells like burnt grease. At AirFryer Go, we’ve seen that consistent care doesn’t just improve food flavor—it can add years to your appliance’s lifespan.
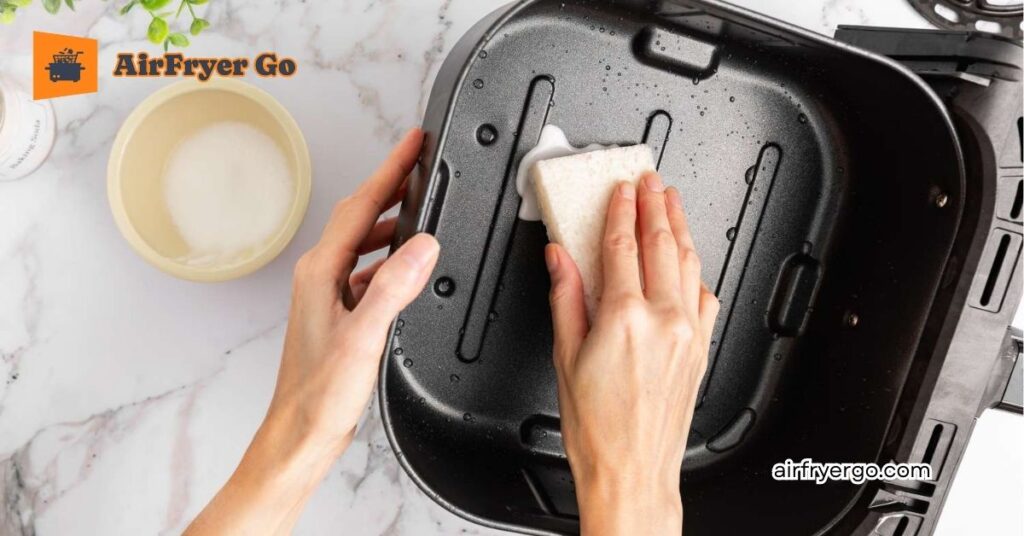
1. The Post-Cook “Quick Clean”
Don’t let grease sit and solidify. The longer it stays, the harder it becomes to remove without damaging the non-stick coating.
- The Soak: Once the basket has cooled slightly (but is still warm), fill it with warm water and a drop of grease-cutting dish soap. Let it sit for 10 minutes while you eat.
- Soft Touch Only: Always use a non-abrasive sponge or a microfiber cloth. Never use steel wool or metal scrubbers, as they will peel the non-stick layer right off.
2. The “Heating Element” Deep Clean
Most people forget to look up. The heating element (the coil above the basket) often gets splattered with oil, which causes smoking over time.
- The Method: Once every two weeks, unplug the unit and turn it upside down (if it’s a basket style).
- The Wipe: Use a damp cloth with a little lemon juice or baking soda paste to gently wipe the coil. This prevents “old grease smell” from infusing into your fresh food.
3. Dishwasher: Friend or Foe?
While many brands claim their baskets are “Dishwasher Safe,” the truth in this year remains the same: Hand washing is better.
- Why? The high heat and harsh chemicals in dishwasher tablets can degrade the non-stick coating and cause the handle screws to loosen over time.
- The Compromise: If you must use the dishwasher, place the basket on the top rack only and use a gentle cycle.
Maintenance Checklist
| Frequency | Task | Benefit |
| Every Use | Wipe the crumb tray & wash the basket. | Prevents fire hazards and odors. |
| Weekly | Wipe the exterior with a damp cloth. | Keeps the stainless steel or plastic looking new. |
| Monthly | Inspect the exhaust vent for dust. | Ensures proper airflow and prevents overheating. |
| Monthly | Deep clean the heating coil. | Stops the machine from smoking. |
AirFryer Go Cleaning Hack: To remove stubborn, baked-on gunk without scrubbing, place a small oven-safe bowl with water and lemon slices inside the basket. Run the air fryer at 350°F for 5 minutes. The steam will loosen the grease, allowing you to wipe it away effortlessly.
Safety and Health Tips: Cooking with Confidence
>>> Read More: Top Air Fryer Tips and Tricks: Master Your Air Fryer Like a Pro
One of the biggest reasons people switch to air frying is for the health benefits. At AirFryer Go, we want to ensure that while you’re cutting out 80% of the fat, you’re also avoiding common safety pitfalls. In this year, “cooking with confidence” means knowing your materials and managing the chemistry of high-heat air.
1. The Smoke Point: Choosing the Right Fuel
The most common cause of a “smoking” air fryer is using an oil that can’t handle the heat. When an oil reaches its smoke point, it breaks down, releasing acrid smoke and harmful compounds.
- Best for High Heat (400°F and up): Avocado Oil (the champion with a 500°F smoke point), Ghee, or Peanut Oil.
- Best for Medium Heat (350°F – 375°F): Light Olive Oil, Grapeseed Oil, or Canola Oil.
- Avoid for Cooking: Extra Virgin Olive Oil (EVOO) and Butter. These have low smoke points and are best used as “finishers” once the food is out of the fryer.
2. Reducing Acrylamide (The “Golden” Rule)
Acrylamide is a chemical that can form in starchy foods (like potatoes) during high-heat cooking. While research is ongoing, health experts recommend a “Go for Gold” approach.
- The Goal: Aim for a golden-yellow or light brown color. Avoid letting starchy foods turn dark brown or black.
- The Hack: Soak raw potato slices in water for 30 minutes before air frying. This removes excess surface starch and significantly reduces acrylamide formation.
3. Non-Toxic Materials: PFAS, PFOA, and BPA
In this year, more users are opting for “clean” air fryers. Many older or budget models use Teflon (PTFE) coatings that can release fumes if overheated.
- Look for: “PFOA-free” and “BPA-free” labels.
- The Gold Standard: If you are highly health-conscious, look for models with ceramic-coated baskets or stainless steel interiors, which are naturally non-toxic and won’t flake over time.
4. Essential Safety Practices
- The 5-Inch Buffer: Never push your air fryer flush against the wall. The exhaust air is extremely hot and can damage your backsplash or even cause a fire risk.
- Avoid Aerosol Sprays: Never use pressurized cans (like Pam). They contain soy lecithin and propellants that can eat away at your basket’s non-stick coating, making it peel into your food. Use a refillable oil mister instead.
- The “Turn” Reminder: Always use silicone tongs to turn food. This prevents cross-contamination and keeps you from touching the scorching hot interior.
AirFryer Go Safety Check: Always use an instant-read meat thermometer. Because air fryers brown the outside so quickly, it’s easy to end up with a chicken breast that looks “done” but is still raw at the center. Aim for 165°F for poultry to ensure total safety.
Troubleshooting Common Air Fryer Problems
Even the best appliances have their “off” days. At AirFryer Go, we’ve found that 90% of air fryer issues aren’t caused by a broken machine, but by a simple physics or maintenance hiccup. Here is how to fix the most common frustrations in seconds.
1. “My Air Fryer is Smoking!”
This is the #1 complaint we hear, and it usually comes in two colors:
- White Smoke: This is caused by fat or grease hitting the heating element. It’s common when cooking high-fat foods like bacon or burgers.
- The Fix: Place a tablespoon of water or a slice of bread in the bottom of the drawer (under the basket) to soak up the grease before it smokes.
- Black/Blue Smoke: This is a sign of burnt food or a mechanical issue.
- The Fix: Unplug immediately. Check the heating coil for stuck-on food or old grease and give it a deep clean once cooled.
2. “Why Isn’t My Food Crispy?”
If your wings are soggy or your fries are limp, the “air” isn’t “frying” correctly.
- The Culprit: You’ve likely overcrowded the basket or didn’t dry the food properly.
- The Fix: Spread food in a single layer and use a paper towel to pat your ingredients bone-dry before adding oil. Also, check that your exhaust vent isn’t blocked—your machine needs to “exhale” moisture to create a crunch.
3. “The Machine Won’t Turn On”
Before you panic and call customer service, check the “Safety Chốt” (Safety Lock).
- The Culprit: Air fryers have a sensor that prevents the fan from spinning unless the basket is perfectly flush.
- The Fix: Give the basket a firm push. Even a 1mm gap will keep the machine from starting. If it’s an oven style, ensure the crumb tray is pushed all the way back.
4. “My Food is Cooked on the Outside but Raw Inside”
Air fryers are essentially mini-blowtorches. They move heat so fast that the surface can burn before the center reaches a safe temperature.
- The Culprit: The temperature is set too high.
- The Fix: Drop the temperature by 25°F (15°C) and increase the time slightly. This is especially important for thick items like chicken breasts or frozen snacks.
Quick Fix Guide
| Problem | Likely Cause | Quick Solution |
| Flies/Food blowing around | High-velocity fan | Secure light items with toothpicks or a metal rack. |
| Strange plastic smell | Initial coating | Run the “Initial Burn-Off” (15 mins at 400°F). |
| Uneven browning | Lack of circulation | Shake the basket or flip the food halfway through. |
| Non-stick peeling | Abrasive cleaning | Stop using metal scrubbers and aerosol sprays immediately. |
AirFryer Go Expert Tip: If your digital display shows an “E1” or “E2” error code, this usually indicates a sensor error. Unplug the machine for 10 minutes to “hard reset” the motherboard. If the code persists, it’s time to check that warranty we discussed!
FAQ: Common Questions from the AirFryer Go Community
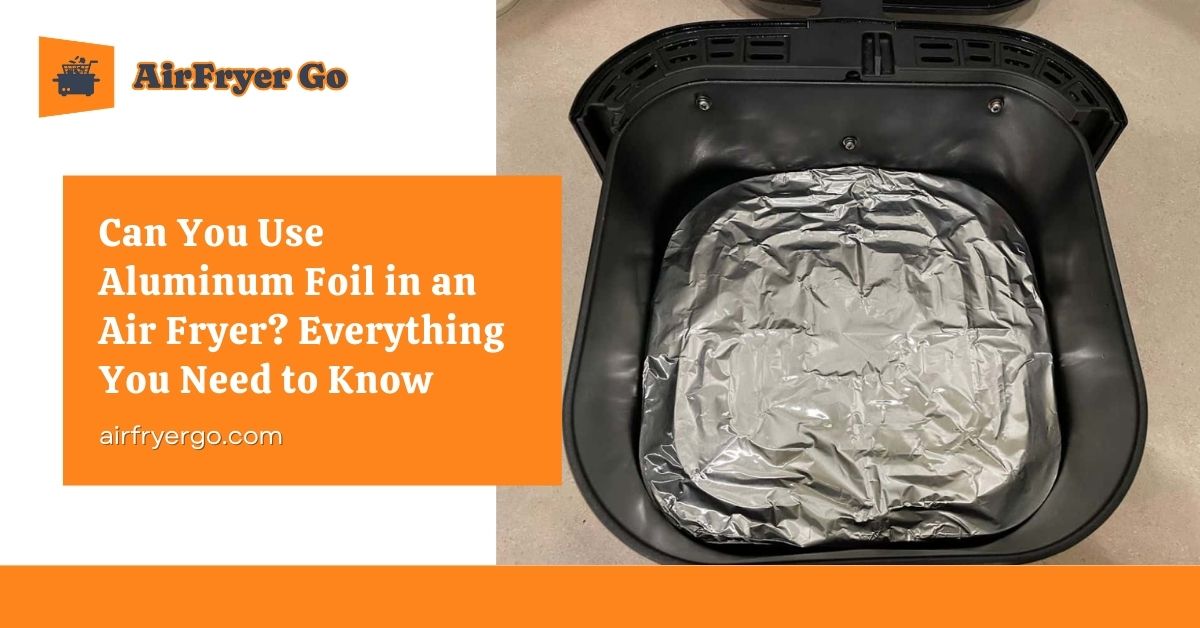
1. Can I use aluminum foil or parchment paper in my air fryer?
Yes, but with a warning. You can use both, but you must never place them in the basket without food on top to weigh them down. The high-velocity fan will suck the paper or foil into the heating element, which is a major fire hazard.
- Pro Tip: Use “perforated” parchment paper (with holes) to allow air to continue circulating upward for a better crunch.
2. Do I really need to preheat?
It depends. If you are cooking thin, frozen foods like fries, preheating isn’t strictly necessary. However, for thick meats (steak, pork chops) or baking, preheating for 3–5 minutes ensures the outside sears and the inside stays juicy.
3. Can I cook “wet” battered foods like tempura?
No. Unlike a deep fryer, an air fryer cannot “set” a wet batter. The liquid batter will simply drip through the basket holes and create a smoky mess on the bottom of your machine.
- The Alternative: Use the “Flour-Egg-Breadcrumb” (Panko) method. This creates a dry, stable coating that air fries beautifully.
4. How do I get rid of the “new plastic” smell?
If the “Initial Burn-off” didn’t fully work, place a small oven-safe bowl inside the basket with a mixture of half water and half lemon juice. Run the fryer at 400°F for 10 minutes. The citric acid steam will neutralize the industrial odors effectively.
5. Can I put a glass bowl or plate inside?
Only if it is labeled “Oven Safe.” Pyrex or ceramic dishes that you would use in a standard oven are generally safe for the air fryer. Avoid standard glass or plastic containers, as the intense, direct heat can cause them to shatter or melt.
Conclusion: Your Journey to Crispy Perfection Starts Here
Mastering how to use air fryer technology is more than just a kitchen upgrade; it’s a gateway to faster, healthier, and more delicious meals for you and your family. From that first “initial burn-off” to the day you perfectly air-fry a steak without breaking a sweat, the journey is all about understanding the balance of airflow and heat.
At AirFryer Go, we believe that anyone can go from an unboxing beginner to a convection pro with the right techniques. By following the “25/25 Rule,” respecting the law of airflow, and keeping your machine in peak condition, you aren’t just cooking—you are mastering a modern lifestyle that values both flavor and efficiency.
Thank you for trusting AirFryer Go to guide you through this culinary transformation. We hope this master guide gives you the confidence to experiment, create, and enjoy every crunchy bite. Your journey to crispy perfection starts now!
Recommended next reads:
The Ultimate Capacity Guide: What Size Air Fryer Do I Need?
Air Fryer: Is It Worth It? A Brutally Honest Guide to Pros & Cons
The Ultimate Air Fryer Recipe Index: 101+ Easy & Healthy Ideas for Every Meal