Mastering the perfect air fryer temps and times is the secret to transforming a soggy meal into a restaurant-quality masterpiece with just the touch of a button. At AirFryer Go, we know the frustration of following a recipe only to end up with a dish that’s burnt on the outside yet frozen in the middle. Because an air fryer is essentially a high-powered convection oven on steroids, standard cooking instructions rarely apply.
In this guide, we’ll share our proven “20% Rule” and provide a comprehensive conversion chart to help you stop guessing and start serving perfectly crispy, golden-brown results every single time.
>>> Read More: How to Use an Air Fryer: The Ultimate Master Guide (From Unboxing to Pro)
The Golden Rule: The Oven-to-Air Fryer Conversion Formula

One of the most common mistakes home cooks make is using standard oven instructions for an air fryer. Because an air fryer circulates heat much more efficiently, using those “back-of-the-box” settings is a guaranteed recipe for burnt dinner.
At AirFryer Go, we use a simple, two-step formula to adjust air fryer temps and times for almost any recipe originally designed for a traditional oven.
The “25 / 20” Strategy
To convert your favorite recipes, follow this simple math:
- Reduce the Temperature by 25°F (or 15°C): If your oven recipe calls for 400°F, set your air fryer to 375°F. The intense airflow in the compact basket means heat penetrates the food much faster than in a cavernous oven.
- Reduce the Cooking Time by 20%: Take the recommended oven time and multiply it by 0.8.
- Example: A 20-minute oven recipe only needs 16 minutes in an air fryer.
Why Does This Formula Work?
Traditional ovens rely on radiant heat and slow air movement. An air fryer, however, uses high-velocity fans to strip away the “cold air boundary” that surrounds food. This process, known as convection, is so powerful that it essentially sears the food from all angles simultaneously, requiring lower heat and less time to achieve the same internal temperature.
The “75% Rule” for Perfection
While the formula above is highly accurate, every machine has a slightly different personality. At AirFryer Go, we always recommend checking your food at the 75% mark of the calculated time.
- If your calculated time is 16 minutes, open the basket at 12 minutes.
- Give it a shake, check the color, and decide if it needs those final 4 minutes or if it’s already reached peak crispiness.
AirFryer Go Expert Tip: Keep in mind that air fryer temps and times can be affected by how much you fill the basket. A single layer of wings will cook much faster than a basket filled to the brim. If you are stacking food, you may need to add 2-3 minutes and shake the basket more frequently to ensure even heat distribution.
Air Fryer vs. Oven: The Efficiency Breakdown
Is an air fryer truly more efficient than a traditional range? To answer this, we have to look beyond just the minutes on the clock. At AirFryer Go, we’ve analyzed the performance of standard 1500W air fryers against conventional 3000W electric ovens to see where the real savings hide.
1. The Speed Gap: Air Fryer vs. Oven Time
The most immediate benefit is the elimination of the “dead time.” A standard oven can take 10–15 minutes just to reach 400°F. In that same window, an air fryer has often already finished cooking the meal.
| Food Item | Conventional Oven Time | Air Fryer Time | Time Saved |
| Salmon Fillets | 20–25 minutes | 8–12 minutes | ~50% |
| Chicken Wings | 45–50 minutes | 20–25 minutes | ~55% |
| Roasted Broccoli | 25–30 minutes | 8–10 minutes | ~65% |
| Frozen Fries | 25–30 minutes | 12–15 minutes | ~50% |
2. Air Fryer vs. Convection Oven Time
Many people ask: “My oven has a convection setting, so why do I need an air fryer?” The difference lies in Air Velocity. While a convection oven has a fan, the air fryer’s fan is larger in proportion to its square footage and spins much faster. This creates a “wind chill” effect in reverse—blasting the food with heat so intensely that air fryer vs convection oven time usually shows the air fryer winning by an additional 20–30%.
3. Energy Consumption: Small Space, Big Savings
Because you aren’t heating up 3–5 cubic feet of empty space to cook two chicken breasts, the energy efficiency is significant:
- Preheating: Most air fryers reach temperature in 2–3 minutes (or require no preheat at all).
- Heat Retention: The compact, insulated chamber of a basket-style air fryer loses very little heat compared to an oven door being opened.
- Cost: On average, using an air fryer can reduce the energy cost per meal by up to 50% compared to a full-sized electric oven.
4. The “Kitchen Heat” Factor
In the heat of summer, a traditional oven acts like a giant space heater, forcing your air conditioning to work harder. The AirFryer Go team loves that air fryers keep the heat contained within the unit, keeping your kitchen cool while your food stays hot.
AirFryer Go Verdict: When it comes to air fryer vs oven time, the air fryer is the clear winner for small-to-medium batches. However, if you are baking three trays of cookies at once, the traditional oven’s sheer volume still holds the crown. For everything else, “air fry” is the way to go.
>>> Read More: Air Fryer or Convection Oven: Which One Should You Choose?
The “AirFryer Go” Master Cooking Chart
Think of this as your “cheat sheet” to culinary success. Whether you are using a compact Cosori Lite or a large Cosori Toaster Oven, these settings provide the perfect starting point for that signature golden crunch.
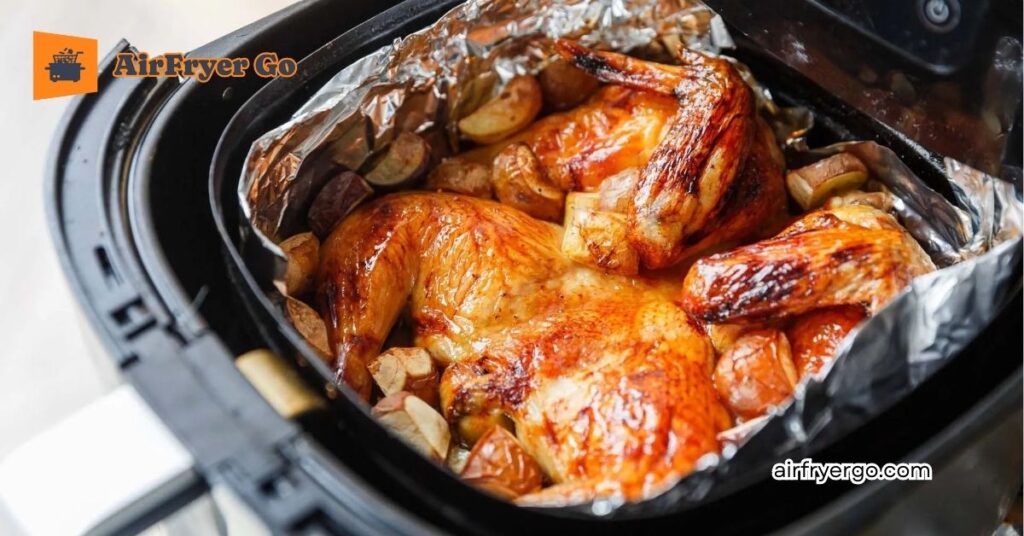
1. Poultry & Meats
The secret to juicy meat is high heat for a shorter duration. This sears the outside while locking in the moisture.
| Food Item | Temp (°F) | Time (Mins) | AirFryer Go Pro Tip |
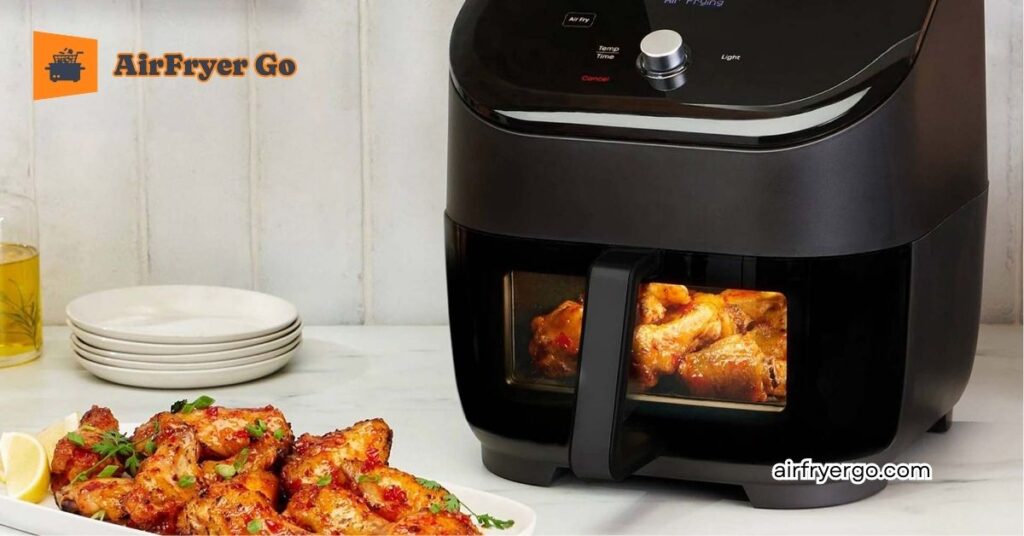
| Chicken Wings | 400°F | 20–25 | Shake every 5 mins for maximum crisp. |
| Chicken Breast | 375°F | 12–15 | Flip halfway; use a thermometer (165°F). |
| Steak (1-inch) | 400°F | 8–12 | Let rest for 5 mins after cooking. |
| Bacon | 350°F | 8–10 | Add a tbsp of water to the drawer to stop smoke. |
| Pork Chops | 375°F | 12–15 | Breaded chops need a light spray of oil. |
2. Seafood
Seafood is delicate. It requires a slightly lower temperature to ensure the middle cooks through without the exterior becoming rubbery.
| Food Item | Temp (°F) | Time (Mins) | AirFryer Go Pro Tip |
| Salmon Fillets | 380°F | 8–12 | Skin side down; no flipping required. |
| Shrimp | 400°F | 5–8 | Toss in a bowl with seasoning first. |
| White Fish | 350°F | 10–12 | Use parchment paper to prevent sticking. |
3. Vegetables
Vegetables in an air fryer are a game-changer. They caramelize beautifully, often tasting better than deep-fried versions.
| Food Item | Temp (°F) | Time (Mins) | AirFryer Go Pro Tip |
| Broccoli Florets | 400°F | 6–10 | Add a splash of water for “steam-fry” texture. |
| Brussels Sprouts | 375°F | 12–15 | Cut in half; spray well with olive oil. |
| Asparagus | 400°F | 5–7 | Single layer only; don’t overcrowd. |
| Baked Potato | 400°F | 35–45 | Prick with a fork and rub with salt/oil. |
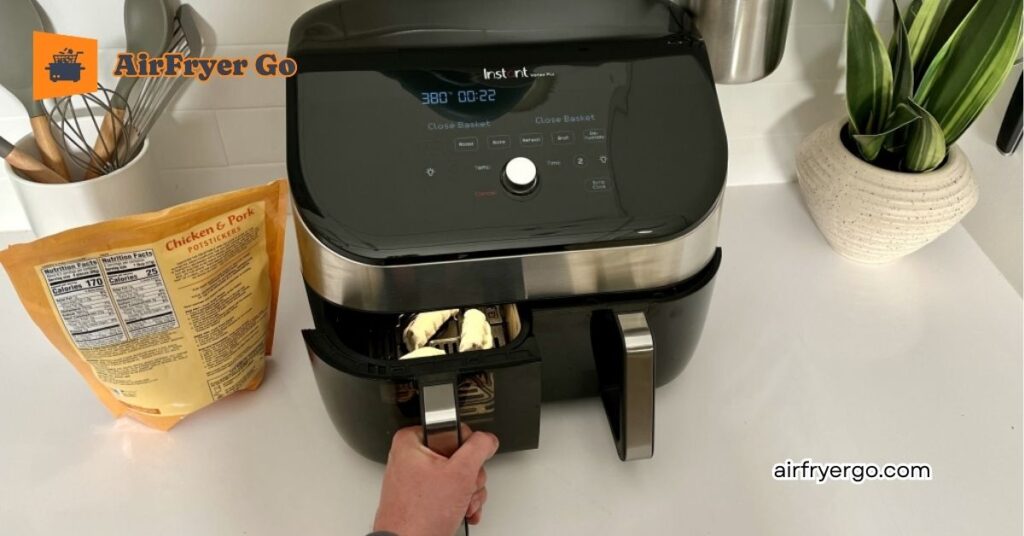
4. Frozen Favorites
The air fryer was practically built for frozen foods. You can usually skip the preheat for these items.
| Food Item | Temp (°F) | Time (Mins) | AirFryer Go Pro Tip |
| Frozen Fries | 400°F | 12–15 | Shake the basket vigorously mid-way. |
| Mozzarella Sticks | 375°F | 6–8 | Watch closely to prevent “cheese explosions.” |
| Chicken Nuggets | 400°F | 10–12 | No oil needed; they have enough in the breading. |
Important Note on Machine Variance
At AirFryer Go, we want to remind you that every kitchen is unique. Your specific air fryer temps and times may vary based on:
- Wattage: A 1200W unit may need 2–3 extra minutes compared to a 1700W model.
- Basket Style: Basket models usually cook faster than toaster oven models due to the concentrated airflow.
- Food Volume: A full basket always takes longer than a half-full one.
Final Check: Always survey the internal temperature of meats with a digital thermometer. Your air fryer provides the heat, but you provide the safety check!
Pro Tips for Perfect Results
Achieving that legendary “AirFryer Go” crunch requires more than just setting a timer. Our team has logged hundreds of hours testing various models to bring you these essential power-user tips.
1. The “Single Layer” Law
The most common cause of soggy food isn’t the temperature—it’s crowding.
- The Science: Air fryers rely on the 360° circulation of hot air. If your chicken wings are piled on top of each other, the air cannot reach the contact points, resulting in “steamed” rather than “fried” food.
- Pro Tip: If you have a large batch, cook in two rounds. A smaller, single layer cooked twice will always taste better than one large, overcrowded basket.
2. The Non-Negotiable “Half-Time Shake”
Even the most advanced models with 360 ThermoIQ benefit from a physical shake.
- Why it works: Shaking redistributes the oil and moves food from the center (where airflow is most intense) to the edges.
- Pro Tip: For delicate items like fish or breaded cutlets, use silicone-tipped tongs to flip instead of shaking to keep the coating intact.
3. Stop Using Aerosol Sprays
Many “non-stick” sprays (like Pam) contain an ingredient called Lecithin.
- The Danger: Over time, lecithin creates a gummy, sticky buildup on your basket that is nearly impossible to remove and will eventually cause the coating to peel.
- The Solution: Use a manual oil mister filled with high-smoke-point oils like Avocado, Grapeseed, or Light Olive Oil. It’s better for your health and your machine.
4. Use “Dry” Seasoning for “Wet” Results
Moisture is the enemy of crispiness.
- The Strategy: Always pat your proteins (chicken, fish, steak) bone-dry with a paper towel before adding oil or spices.
- Pro Tip: If you’re using a marinade, let the excess drip off completely before placing the food in the basket to prevent the air fryer from smoking.
5. Safety First: The 165°F Rule
Because air fryer temps and times can be so fast, it’s easy to sear the outside while leaving the inside undercooked.
- Expert Advice: Never rely solely on the timer for poultry or pork. At AirFryer Go, we consider a digital meat thermometer an essential air fryer accessory. Ensure your chicken reaches an internal temperature of 165°F regardless of what the “preset” button says.
Reminder: As we mentioned in our AirFryer Go cleaning guides, always khảo sát (check) the heating element above the basket once a month. If grease splatters onto the coil, it can smoke and alter the flavor of your food. A quick wipe with a damp cloth (when cool!) keeps your results tasting fresh.
Common Mistakes: Why Your Time/Temp Might Be Off
If your fries are still soggy or your chicken is drying out despite following the “Golden Rule,” one of these common culprits is likely to blame.
1. The Wattage Gap (The “Horsepower” Factor)
Not all air fryers are created equal. A compact 2-quart model often runs on 1200 Watts, while a powerhouse like the Cosori TurboBlaze or a large oven model runs on 1700W–1750W.
- The Result: High-wattage machines recover heat instantly after you open the basket. Lower-wattage machines take longer to get back up to temp.
- The Fix: If you have a lower-wattage unit (under 1400W), add 2–3 minutes to any standard cooking time.
2. Forgetting the Pre-Heat
While many 2026 models claim “no preheat needed,” the laws of physics still apply.
- The Mistake: Placing cold food into a cold chamber. This leads to the food sitting in a “warm-up” zone where it steams rather than sears.
- The Fix: Always run your air fryer for 3 minutes at the target temperature before adding your food. This ensures the “sear” happens the second the food hits the tray.
3. The “Crowded Basket” Sabotage
We’ve mentioned the “Single Layer Law,” but the mistake often happens with lightweight foods like kale or sliced potatoes.
- The Mistake: If the basket is too full, the air cannot circulate under the food.
- The Result: The top layer burns while the bottom layer remains raw.
- The Fix: If you must cook in bulk, increase the temperature by 10°F and double your shaking frequency (every 3–4 minutes).
4. Ignoring “Carry-Over” Cooking
This is the most common reason for dry, rubbery meat.
- The Mistake: Leaving the food inside the air fryer after the timer dings.
- The Result: The air fryer is a small, highly insulated box. Even when the fan stops, the residual heat continues to cook the food.
- The Fix: Remove the basket from the machine immediately when the timer hits zero. Let your meat rest on a plate or cutting board, not inside the hot air fryer.
AirFryer Go Expert Reminder: Because every kitchen environment is different (even the ambient temperature of your room matters!), it is essential to khảo sát (survey) your first few meals. Keep a small notebook nearby to jot down if your specific machine runs “hotter” or “slower” than our charts. These personal adjustments are what turn a good cook into an AirFryer Go master.
Price & Maintenance Note
While your air fryer does the heavy lifting, its performance is only as good as its calibration. To maintain the professional standards we’ve discussed, consider these two factors:
1. The Best $15 You’ll Ever Spend
While high-end air fryers come with digital sensors, the single best investment for any AirFryer Go reader is a high-quality Instant-Read Digital Thermometer.
- Why it matters: As units age, their internal calibration can drift. A thermometer is the only way to verify that a “400°F” setting is actually producing 400°F of heat.
- Price Reference: Reliable models range from $15 to $25. This small cost is a fraction of the price of a ruined steak or undercooked poultry.
2. Maintenance: The “Efficiency” Wipe
Grease buildup on the heating element doesn’t just cause smoke; it acts as an insulator, making the element work harder and longer to reach the desired temperature.
- Monthly Check: Once a month, unplug your unit and turn it over (once cool) to inspect the heating coil.
- The Fix: Use a damp microfiber cloth with a tiny bit of lemon juice or vinegar to wipe away carbonized grease. This ensures the heat radiates evenly, keeping your cooking times consistent with our master charts.
3. A Quick Word on Pricing & Repairs
At AirFryer Go, we want to remind our readers that while our guides provide a standard baseline, actual performance can vary.
Note: Our price references and cooking benchmarks are based on market standards. If your unit is consistently taking 30% longer than our charts suggest, it may require a professional survey of the heating element or fan motor. Repairs can vary in cost depending on the component and your location, so always check if your unit is still under its manufacturer warranty first.
FAQs
1. Should I always preheat my air fryer?
While many 2026 models like the Cosori TurboBlaze heat up almost instantly, AirFryer Go generally recommends a 3-minute preheat. Think of it like a pan on a stove—you wouldn’t put a steak in a cold pan. Preheating ensures the “sear” begins immediately, which is crucial for the best air fryer vs oven time results.
2. Why did my food cook faster than the chart suggested?
This usually happens for two reasons: Wattage and Room. If you are using a high-wattage unit (1700W+) and cooking a very small amount of food, the heat concentration is much higher. Always start checking your food at the 75% mark of the suggested time to prevent overcooking.
3. Can I change the temperature mid-cycle?
Absolutely. In fact, for foods like thick-cut fries, many pros start at 350°F to cook the inside and then crank it to 400°F for the last 3 minutes to “flash-crisp” the outside. Don’t be afraid to adjust as you go!
4. Do I need to adjust times for “Air Fryer Ovens” vs. “Baskets”?
Yes. Air fryer vs convection oven time logic applies here. Basket-style fryers are more compact and usually cook 15-20% faster than the larger air fryer toaster ovens because the fan is much closer to the food. If using an oven model, stay on the higher end of our suggested time ranges.
5. Can I put frozen meat directly in the air fryer?
You can, but we don’t recommend it for thick cuts like steak or chicken breasts. The outside will likely burn before the inside reaches a safe 165°F. For the best results, thaw your proteins first. If you must cook from frozen, lower the temperature by 25°F and double the time, checking frequently with a thermometer.
Conclusion
Hopefully, with this roadmap, from the “gold standard” conversion formula to the detailed lookup table, you’ll feel more confident in mastering every meal in your kitchen. Understanding air fryer temps and times not only makes your food tastier but also saves you time and energy every day.
Don’t forget to visit AirFryer Go regularly for more in-depth cooking tips and the most objective reviews of the latest generation of air fryers. Let AirFryer Go accompany you on your journey to bringing crispy, healthy meals to your whole family!
Recommended next reads:
Top Air Fryer Tips and Tricks: Master Your Air Fryer Like a Pro
The Ultimate Capacity Guide: What Size Air Fryer Do I Need?
Air Fryer: Is It Worth It? A Brutally Honest Guide to Pros & Cons