
There is nothing more frustrating than preparing a perfect meal only to realize your air fryer not heating up just as you slide the basket in. At AirFryer Go, we know that a cold heating element can feel like a disaster for your dinner plans, but in many cases, the fix is much simpler than you might think.
Before you consider replacing your favorite appliance or ordering takeout, take a deep breath and let us walk you through a few expert checks. From hidden sensors to simple reset tricks, this guide will help you diagnose the problem and get that signature crunch back on your plate in no time.
>>> Read More: How to Use an Air Fryer: The Ultimate Master Guide (From Unboxing to Pro)
The “Quick Rescue” Checklist: 3 Things to Check First
Before you reach for your toolbox or start shopping for a replacement, let’s rule out the “silent culprits.” At AirFryer Go, we’ve seen countless “broken” machines fixed in under 30 seconds simply by checking these three often-overlooked details.
Run through this checklist immediately to see if you can spark your heating element back to life:
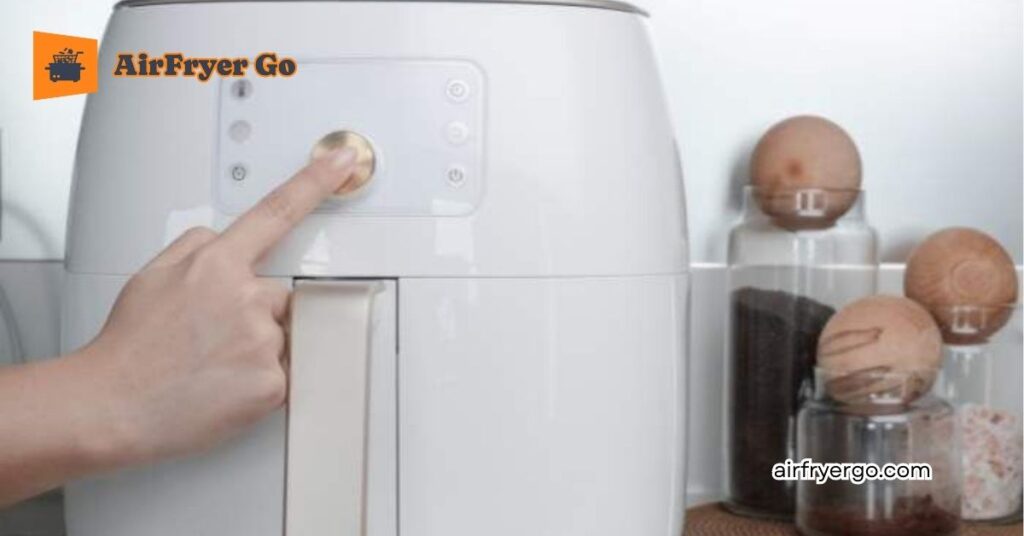
1. The Basket Sensor (The “Click” Factor)
Almost every modern air fryer, from Ninja to Gourmia, has a built-in safety switch. If the basket isn’t seated perfectly—even by a fraction of an inch—the machine will refuse to engage the heating coil to prevent heat leakage.
- The Fix: Remove the basket entirely, check for any stray crumbs in the tracks, and push it back in firmly until you hear or feel a distinct “click.” If the display lights up but the air stays cold, try holding the basket handle firmly inward to see if the heat kicks in.
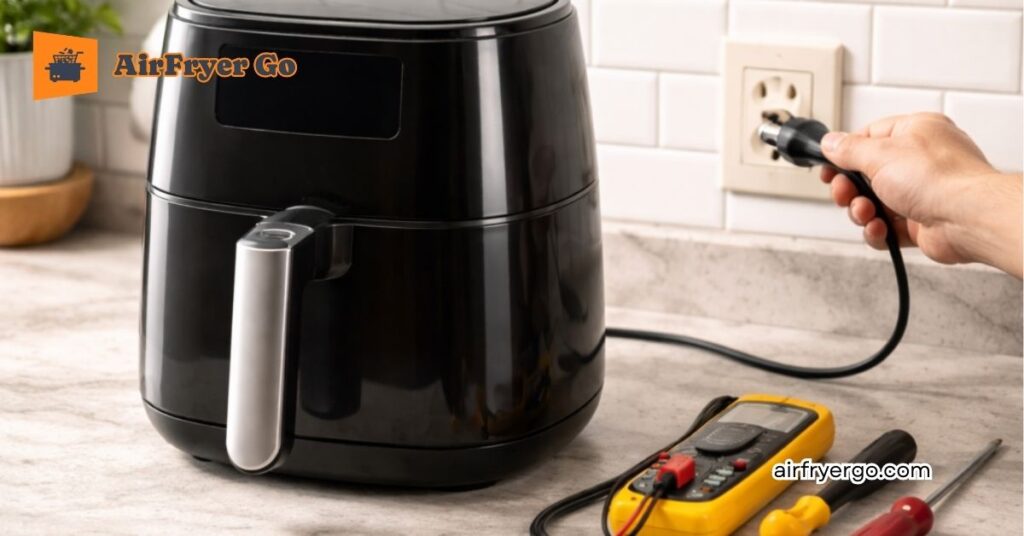
2. The GFCI Outlet (The “Hidden” Reset)
Air fryers pull a lot of power (up to 1,800W), which can sometimes cause your kitchen’s GFCI outlet to “trip” without flipping the main circuit breaker in your garage.
- The Fix: Look at the power outlet on your wall. Is the little plastic button popped out? Press the “Reset” button on the outlet until it clicks. If you’re using a power strip, unplug it and plug the air fryer directly into the wall—many power strips have internal fuses that blow when an air fryer starts its high-draw heating cycle.
3. The Thermal Safety Cut-off
If you recently cooked a long batch of food or your kitchen is very warm, your unit’s internal sensors may have triggered a “thermal shut-off” to prevent overheating.
- The Fix: Unplug the unit and let it sit completely idle for 10 to 15 minutes. This allows the internal components to cool down and the safety sensors to reset. Many “dead” air fryers simply needed a short nap to start working again.
AirFryer Go Safety Note: If your machine passes these three checks and still refuses to blow hot air, the issue likely sits deeper within the thermal fuse or the heating element itself.
Air Fryer Not Heating Up? Check the Coil and Sensor

If your machine is running, the timer is counting down, and the fan is blowing—but the air inside remains stone-cold—you are likely dealing with a hardware disconnect. At AirFryer Go, we’ve found that when an air fryer is not heating up, the culprit is usually found in one of two places: the heating element (the coil) or the internal temperature sensor.
Here is how to “diagnose” these two critical components without needing a degree in engineering.
1. The Heating Coil: Is it Actually Getting Power?
The heating coil is the “engine” of your air fryer. Over time, these coils can fail due to heavy use or, more commonly, a buildup of burnt-on grease that acts as an insulator.
- The Visual Inspection: Unplug the unit, let it cool, and turn it upside down (if your model allows). Look at the silver or copper-colored ring above the basket.
- The Red Flag: If you see any black “pitting,” cracks, or broken spots on the metal ring, the element has likely burnt out and needs professional replacement.
- The “Clean Coil” Fix: If the coil is covered in a thick layer of black carbon or grease, it may be struggling to radiate heat. A gentle cleaning with a soft brush and a damp cloth (never soak it!) can sometimes restore its efficiency.
2. The Thermostat Sensor: The “Brain” of the Heat
The thermostat is a tiny sensor that tells the air fryer when to turn the heat on and off. If this sensor is faulty or dirty, it might “think” the air fryer is already at 200°C (400°F) and refuse to trigger the heating element.
- The Symptom: Your air fryer runs for 30 seconds, then the heating light clicks off immediately.
- The Troubleshooting Step: Ensure there is no food debris stuck near the sensor (usually a small metal probe near the top of the cooking chamber). A quick wipe to remove grease buildup can often fix “false” temperature readings.
3. The Thermal Fuse: The Invisible Safety Guard
Every air fryer has a thermal fuse designed to blow if the machine gets dangerously hot. Once this fuse blows, the circuit is permanently broken to prevent a fire.
- The AirFryer Go Verdict: If your fan works perfectly but you’ve tried every reset and the coil remains ice cold, the thermal fuse has likely done its job and sacrificed itself. In most modern units, this requires a technician to replace, as it sits deep inside the internal wiring.
AirFryer Go Expert Tip: A common “stealth” reason for an air fryer not heating up is a faulty control board. If your digital screen is flickering or showing an “E1” or “E2” error code, your machine is trying to tell you exactly which sensor has failed. Always check your manual for specific error code definitions!
Why Is My Air Fryer Smoking? (White vs. Blue vs. Black Smoke)
Seeing smoke billow out of your appliance can be alarming, but at AirFryer Go, we want to help you distinguish between a simple cleaning issue and a serious safety hazard. The color of the smoke is your machine’s way of communicating exactly what is going wrong inside that pressurized chamber.
Here is how to decode the “smoke signals” coming from your air fryer:
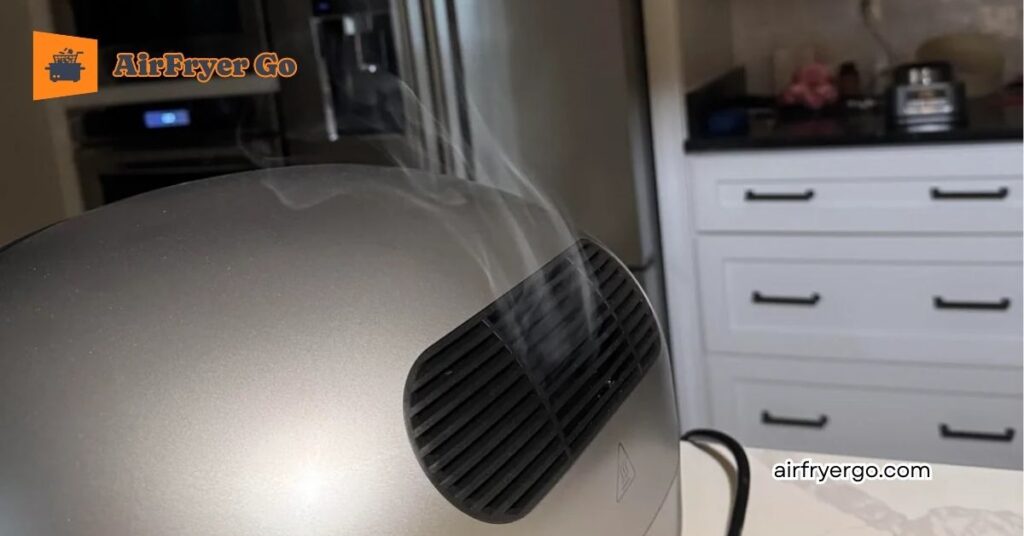
1. White Smoke: The “Grease” Cloud
This is the most common type of smoke, and while it looks dramatic, it is usually harmless to the machine. White smoke occurs when high-fat foods (like bacon, burgers, or chicken wings) drip grease onto the bottom of the pan or directly onto the hot heating element.
- The Cause: The grease reaches its “smoke point” and vaporizes into a thick white mist.
- The AirFryer Go Fix: Place a slice of bread at the bottom of the outer basket (under the frying tray) to soak up excess grease before it can smoke. Alternatively, add two tablespoons of water to the bottom tray to keep the drippings cool.
2. Blue or Grey Smoke: The “Residue” Burn
Blueish smoke typically indicates that old food particles or oil from a previous meal are being incinerated.
- The Cause: If you didn’t deep-clean the basket or the “ceiling” (the area around the heating coil) after your last session, those microscopic crumbs are now burning at 200°C.
- The AirFryer Go Fix: Unplug the unit and let it cool. Turn the machine upside down and use a damp cloth with a bit of lemon juice or dish soap to wipe the heating element and the metal roof of the chamber.
3. Black Smoke: The “Red Alert”
If you see black smoke, unplug your air fryer immediately. Black smoke is a sign of a mechanical or electrical failure that could lead to a fire.
- The Cause: This usually means a wire is melting, a plastic component has touched the heating element, or the motor is burning out.
- The AirFryer Go Safety Rule: Do not attempt to “cook through” black smoke. Once the unit is unplugged and cool, inspect the cord and the interior for melted plastic. If the smell of burning rubber persists, the unit is likely unsafe to use.
Ninja & Power XL Specifics
High-performance models like the Ninja Foodi or Power XL use high-velocity fans. Sometimes, light foods (như bánh mì sandwich hoặc lá kale) can be sucked upward by the fan and get stuck directly against the heating coil.
- The Symptom: Sudden, localized smoke and a smell of charred toast.
- The Fix: Always use a metal rack or a “toothpick hack” to weigh down light items so they don’t fly into the element.
AirFryer Go Maintenance Tip: If your air fryer is constantly setting off the smoke alarm, check your placement. Never operate the unit directly under a low-hanging cabinet or a smoke detector. Give it at least 5 inches of clearance on all sides to allow the exhaust to dissipate naturally.
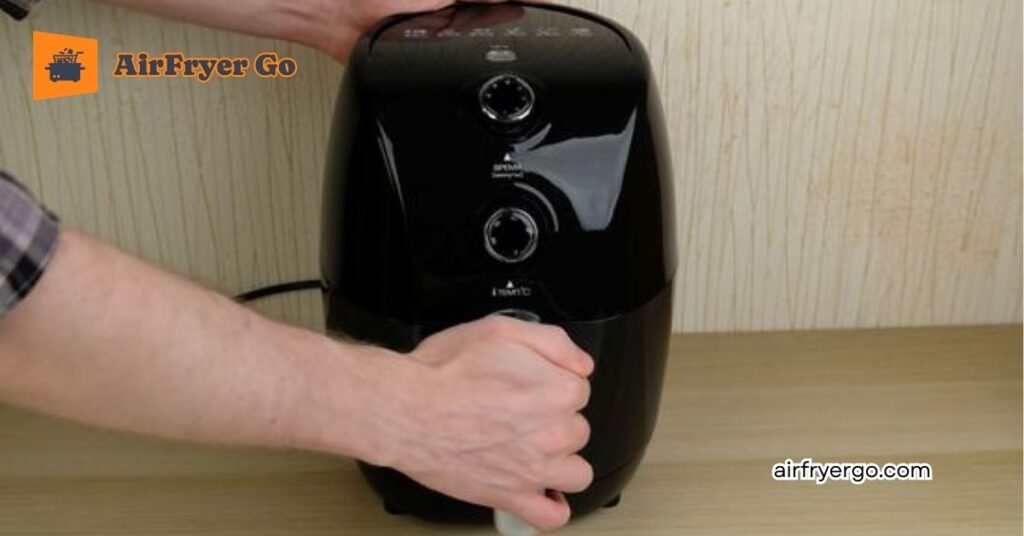
Air Fryer Won’t Turn On? Brand-Specific Fixes
It can be incredibly frustrating when you press the power button and nothing happens—no lights, no fan, just a cold machine. At AirFryer Go, we’ve found that many “dead” units are actually just stuck in a safety lockout mode.
Before you assume the motor is blown, let’s look at the specific quirks and “secret” resets for the most popular brands on the market.
1. Gourmia Air Fryer: The “Hard Reset” Method
Gourmia models are known for their sleek digital interfaces, but these electronics can occasionally “freeze” if there is a minor power surge.
- The Symptom: The screen is black, or the buttons are unresponsive even when plugged in.
- The Fix (The 30-30-30 Reset): Unplug your Gourmia unit. Hold down the Power button for 30 seconds while it is unplugged to drain the internal capacitors. Plug it back in, and if the screen stays dark, try a different outlet. Many Gourmia models also have a “hidden” reset—unplugging the unit for exactly 10 minutes often clears the internal memory error.
2. Ninja Air Fryer: The “Interlock” Check
Ninja units, including the Foodi series, have extremely sensitive safety interlocks. If the sensors don’t detect a perfect seal, the power won’t engage.
- The Symptom: The “Lid” or “Pot” error message appears, or the unit simply won’t start the countdown.
- The Fix: Ninja baskets must be pushed in with a firm “thump.” If you are using a Ninja Foodi (the pressure cooker combo), ensure the heating lid is closed completely and the sealing valve is in the correct position. If the power cord feels warm near the base, the internal thermal fuse may have tripped due to overheating—let it cool for 20 minutes.
3. Power XL & Cuisinart: The Fuse and Cord Issue
Power XL and Cuisinart models often use high-gauge wiring that can be sensitive to “daisy-chaining” (plugging into power strips).
- The Symptom: The unit worked fine yesterday but is completely unresponsive today.
- The Fix: These brands are the most likely to trip a GFCI outlet (the one with the “Reset” button on your kitchen wall).
- For Cuisinart TOA models: Ensure the timer dial is turned past “10” and then back to your desired time. If the timer is set to less than 5 minutes, some mechanical Cuisinart models won’t trigger the power switch.
- For Power XL: Check the power cord for any “kinks.” If the cord was pinched behind the machine, the internal wires may have snapped, requiring a replacement cord.
4. Instant Vortex: The “Overheat” Protection
The Instant brand (makers of the Instant Pot) builds heavy-duty overheat protection into their air fryers.
- The Symptom: The machine turns off mid-cycle and won’t turn back on.
- The Fix: This is almost always a thermal shut-off. Unplug the unit and remove the basket to let the heating chamber breathe. Wait 30 minutes. If it still won’t turn on, check the “E” code on the display—”E1″ or “E2” usually means a sensor has become disconnected and needs a professional repair.
Quick Brand Comparison: Where is the “Reset”?
| Brand | Primary Reset Action | Common “Dead” Cause |
| Gourmia | Unplug for 10 minutes | Digital logic freeze |
| Ninja | Firmly re-seat the basket | Safety interlock not engaged |
| Power XL | Reset the wall GFCI outlet | Tripped circuit/blown fuse |
| Cuisinart | Turn timer past 10 mins | Mechanical dial misalignment |
AirFryer Go Pro Tip: If your air fryer won’t turn on and you’ve tried everything, check the plug prongs. If they look “charred” or discolored, stop immediately. This indicates an electrical arc, and the unit is a fire hazard that should not be plugged back in.
Why Does My Air Fryer Smell Like Chemicals?
Few things are as off-putting as preparing a fresh meal only to have your kitchen fill with a “factory” or “burnt plastic” aroma. At AirFryer Go, we want to reassure you: in 90% of cases, this smell is a normal part of the machine’s “break-in” period and is not a sign of toxic chemicals leaking into your food.
However, distinguishing between a “new machine smell” and a genuine electrical hazard is vital for your safety.
1. The “New Car” Effect (The Burn-Off Cycle)
Most modern air fryers come from the factory with a thin, protective coating of food-grade oil or silicone on the heating element and the non-stick basket. This coating prevents rusting and damage during shipping.
- The Cause: When you turn the machine on for the first time, this coating reaches 200°C (400°F) and evaporates, creating a temporary chemical-like odor.
- The AirFryer Go Fix: Run a “Burn-Off Cycle.” Before cooking any food, run the empty air fryer at its highest temperature for 15–20 minutes in a well-ventilated area (near an open window or under a range hood). Repeat this 2–3 times until the smell dissipates.
2. The “Plastic Melt” vs. “Chemical” Smell
It is important to trust your nose. There is a big difference between a lingering “new” smell and the sharp, acrid scent of melting plastic.
- The Plastic Smell: If the smell reminds you of burning rubber or a hot hair dryer, a plastic component may be too close to the heating coil.
- The AirFryer Go Check: Unplug the unit and inspect the interior. Look for any plastic zip-ties or protective stickers you might have missed during unboxing—it happens more often than you’d think!
3. The “Lemon & Vinegar” Steam Clean
If the chemical smell persists after a few uses, the factory residue might be stubborn. You can use a natural steam-cleaning method to neutralize the odor safely.
- The Recipe: Place a small, oven-safe bowl inside the basket with 1 tablespoon of white vinegar and 1 tablespoon of lemon juice.
- The Process: Run the air fryer at 180°C (350°F) for 5 minutes. The steam will break down the chemical residue on the heating coil and the lemon will neutralize the scent. Wipe the basket down afterward with a damp cloth.
>>> Read More: How to Clean an Air Fryer: The Ultimate Guide to a Sparkling Machine
AirFryer Go “Smell Diagnosis” Table
| The Smell | Likely Cause | Is it Safe? |
| Faint Metallic/Oily | Factory protective coating | Yes (Perform a Burn-Off) |
| Acrid/Burning Rubber | Melting wire or plastic | No (Unplug immediately) |
| Old Grease/Fishy | Dirty heating coil | Yes (Deep clean the unit) |
AirFryer Go Safety Note: While the initial “chemical” smell is generally non-toxic food-grade silicone, we always recommend keeping pets (especially birds, who have sensitive respiratory systems) in a different room during the first few “Burn-Off” cycles of any new heating appliance.
Setting Off the Smoke Alarm? Preventative Maintenance
There is nothing more stressful than a smoke alarm screaming while you’re just trying to crisp up some wings. At AirFryer Go, we know that a “smoky” kitchen is often a sign that your appliance is working hard, but its exhaust system is struggling.
If your air fryer is constantly triggering your smoke detector, it’s time for some quick preventative maintenance. Here is how to keep the air clear and your smoke alarm silent.
1. The “Hidden Ceiling”: Cleaning the Heating Element
Most people scrub the basket religiously but forget to look up. The “ceiling” of your air fryer houses the heating element and the fan.
- The Problem: Over time, grease splatters upward and sticks to the hot metal coil. Every time you turn the machine on, that old grease burns, creating a steady stream of fine blue smoke.
- The AirFryer Go Fix: Once a month (or after cooking fatty foods), wait for the unit to be completely cool and unplugged. Turn the machine upside down. Use a damp microfiber cloth with a squeeze of lemon or a non-abrasive degreaser to wipe the coil and the metal roof. Keeping this area shiny is the #1 way to prevent smoke.
2. Give it “Breathing Room”
Air fryers are essentially high-powered convection ovens. They pull in cool air and blast out hot, oil-laden exhaust from the back.
- The Problem: If you push your air fryer directly against a tiled backsplash or under a low-hanging wooden cabinet, the hot exhaust has nowhere to go. It traps the heat and oil particles, which eventually drift up to the nearest smoke sensor.
- The AirFryer Go Rule: Always maintain at least 5 inches (13cm) of open space behind and above the unit. If possible, pull the air fryer out from under your cabinets and place it near your stove’s exhaust hood while in use.
3. The “Bread Slice” & “Water” Hacks
If you are cooking high-fat foods like bacon, burgers, or pork belly, smoke is almost inevitable—unless you use a “grease trap.”
- The Bread Trick: Place a single slice of plain white bread at the very bottom of the outer drawer (under the frying rack). The bread acts as a sponge, soaking up liquid fat before it can hit the hot metal and smoke.
- The Water Trick: Adding 2 tablespoons of water to the bottom of the drawer prevents drippings from reaching their smoke point. The water keeps the grease at a lower temperature, turning potential smoke into harmless steam.
Preventative Maintenance Checklist
| Frequency | Action | Why? |
| Every Use | Wipe the base of the drawer | Removes easy-to-burn crumbs |
| Every 5 Uses | Check the “ceiling” coil | Prevents long-term grease buildup |
| Every Month | Deep clean the fan blades | Ensures maximum airflow efficiency |
| Before Fatty Meals | Add bread/water to the tray | Stops smoke before it starts |
AirFryer Go Pro Tip: If your smoke alarm is still going off despite a clean machine, check your smoke point. Using extra virgin olive oil or butter at 200°C (400°F) will always cause smoke. Switch to “High Smoke Point” oils like Avocado, Grapeseed, or Peanut oil for high-heat air frying.
When to Repair vs. When to Replace

At AirFryer Go, we hate to see a great appliance go to waste, but sometimes “nursing” an old machine back to life can be more dangerous—and expensive—than simply starting fresh. Knowing when to pick up a screwdriver and when to pick up a new unit is the final step in becoming a savvy air fryer owner.
Here is how to make the right call for your kitchen and your wallet.
1. The “$50 Rule” (The Logic of Replacement)
Air fryers have become incredibly efficient and affordable. Most mid-range models cost between $80 and $150.
- The Math: If a replacement part (like a new digital control board or a specialized heating element) plus shipping costs more than $50, it is usually time to replace the unit.
- Why? A new machine comes with a fresh 1-year warranty, a cleaner non-stick coating, and updated safety features that your old, repaired unit simply won’t have.
2. When to “Repair” (The Green Choice)
If the fix is external or a simple accessory, repairing is always the better move for the environment and your budget.
- Broken Basket Handle: These are easily replaced for $15–$25 and don’t affect the internal electronics.
- Scratched Frying Tray: You can find universal silicone or metal replacement trays for under $20.
- Blown Wall Outlet: If the problem is your house’s GFCI outlet, fixing the outlet (or resetting it) costs $0 and saves your machine.
3. When to “Replace” Immediately (The Safety Red Flags)
Some issues are “deal-breakers” because they involve the fundamental safety of your home. At AirFryer Go, we recommend replacing your unit if you encounter any of the following:
- Frayed or Melted Power Cord: Never “tape up” a power cord that pulls 1,500W. It is a massive fire risk.
- Cracked Heating Element: If the metal coil is physically broken or pitted, it can cause electrical arching.
- Melting Plastic Housing: If the outer shell of your air fryer is warping or smells like burning rubber, the internal insulation has failed.
- Consistent “E” Errors: If your machine displays “E1” or “E3” even after a hard reset, the internal motherboard is likely failing.
The AirFryer Go Decision Matrix
| Problem | Repair it? | Replace it? |
| Flaking Non-Stick Coating | Buy a new basket ($20-$30) | Only if the model is discontinued |
| Dead Fan Motor | No (Too complex/costly) | Yes |
| Broken Digital Screen | No (Part is expensive) | Yes |
| Loose Power Plug | No (Fire Hazard) | Yes |
Troubleshooting your air fryer is about more than just saving a meal; it’s about maintaining a tool that makes your life easier and healthier. Whether you fixed your “cold” machine by pushing in the basket or decided it was time to upgrade to a newer, more efficient Ninja or Gourmia, you’ve taken the right step toward kitchen mastery.
AirFryer Go Final Tip: If you do decide to replace your unit, look for a model with a stainless steel interior. They are much easier to clean, produce less “new machine smell,” and typically last longer than plastic-heavy models!
FAQ: Troubleshooting Your AirFryer Go Experience
1. Why did my air fryer stop working mid-cycle? This is almost always due to overheating or a loose basket. Air fryers have a thermal safety switch that cuts power if the internal temp gets too high (often caused by poor ventilation). It could also be a “phantom” basket slip—if the basket vibrates loose by even a millimeter, the safety interlock will kill the power instantly.
- The Fix: Push the basket in firmly and give the machine 10 minutes to cool down before restarting.
2. Can I use my air fryer if the fan is making a loud rattling noise? A rattling or grinding noise usually means a piece of food (like a loose peppercorn or a bit of dried kale) has been sucked into the fan assembly, or the fan blade itself has come loose.
- The Verdict: If a quick shake doesn’t clear the debris, do not continue using it. A struggling fan can cause the motor to burn out or the heating element to overheat, leading to a fire hazard.
3. Is there a “hard reset” button for digital air fryers? Most modern air fryers (like Gourmia and Ninja) do not have a physical “Reset” button. Instead, they use a power-cycle reset.
- The Steps: Unplug the unit for at least 10 full minutes. This allows the internal capacitors to discharge and clears any temporary “logic errors” in the control board. When you plug it back in, the system should reboot to factory settings.
4. My air fryer is plugged in and the lights are on, but the “Start” button won’t work. Why? Many digital models require you to select both a temperature and a time before the “Start” button becomes active. If you’ve selected a preset (like “Chicken”) but haven’t hit the “Start/Pause” button within a few seconds, some machines will “time out” for safety.
- The Fix: Clear the settings, re-select your time/temp, and press “Start” immediately.
5. Why is my food taking longer to cook than the recipe says? If your air fryer is “working” but not performing, your heating coil is likely dirty. Grease buildup on the element prevents it from radiating heat efficiently.
- The AirFryer Go Tip: Check for a “clogged” intake vent on the top or back of the machine. If the fan can’t pull in enough air, it can’t move the heat around your food.
Conclusion: Back to Crispy Perfection
Troubleshooting a kitchen appliance can feel like a high-stakes race against the clock, especially when dinner is on the line. At AirFryer Go, our goal is to turn those moments of “technical panic” into simple, manageable fixes. As we’ve discovered, most issues—from an air fryer not heating up to a sudden puff of white smoke—are rarely signs of a “dead” machine. More often, they are just your appliance’s way of asking for a quick reset, a firmer basket click, or a bit of deep cleaning.
By understanding the “why” behind the smoke and the “how” of the heating coil, you aren’t just fixing a gadget; you are becoming a more confident, sustainable home cook. A well-maintained air fryer doesn’t just last longer—it cooks better, uses energy more efficiently, and keeps your kitchen safe.
Follow the latest articles at AirFryer Go to master your kitchen!
Recommended next reads:
Are Air Fryers Toxic? Separating Science from Scare Tactics
Does an Air Fryer Need Oil? The Ultimate Guide to Perfect Crunch
How Many Watts Does an Air Fryer Use? Energy Costs & Safety Guide